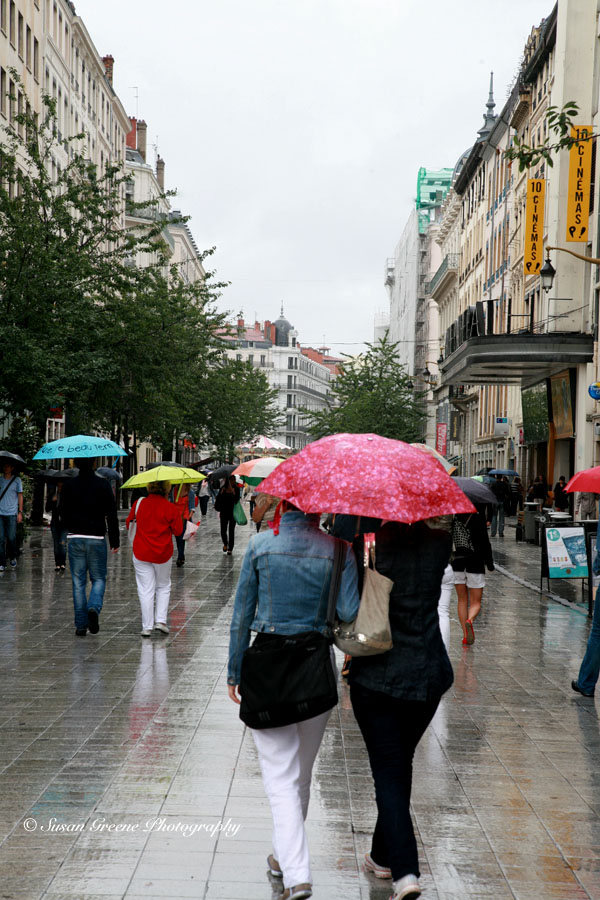
Blurry pictures are not generally a goal in photography. But there are times that blur in a photo is used as a means of conveying motion. There are a couple of different ways to accomplish this. Calling upon my most faithful backyard model for this motion photo shoot, we dusted off the old cruiser bike and headed out. The first way to convey motion with blur is to put the camera on a tripod, compose the scene, set your exposure settings using a slow shutter speed (anything from 1/30 and lower will work) and have something or someone move through your scene.
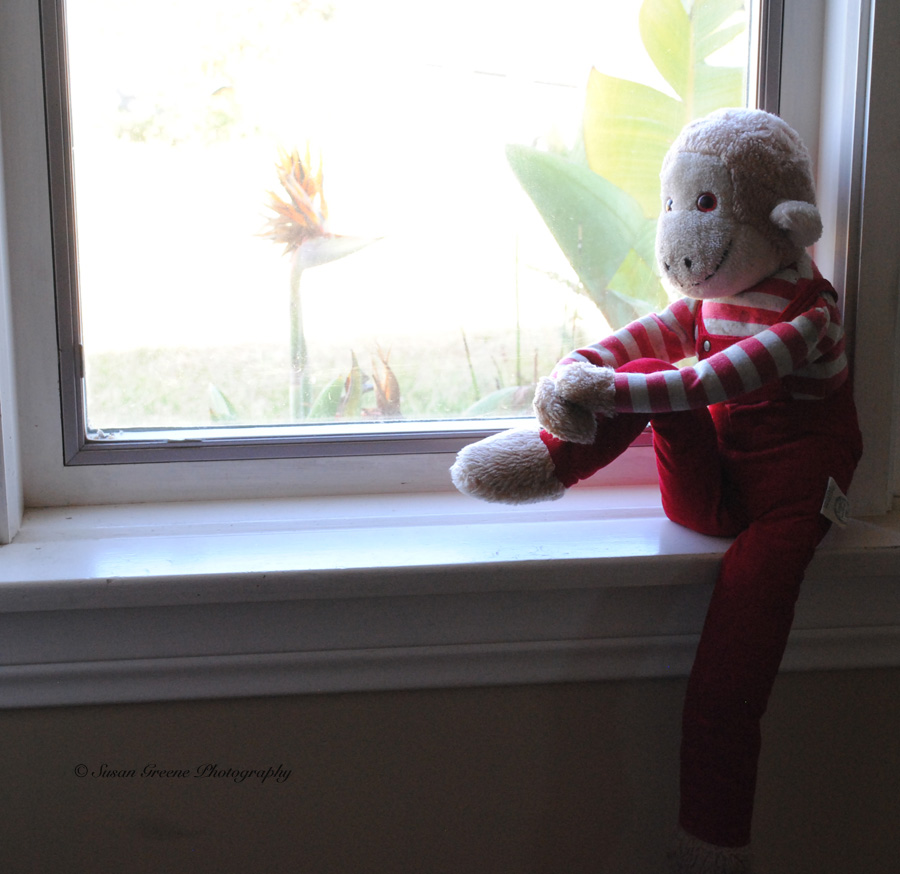
 The shutter speed I used for this was 1/25. I tried a slower one of 1/8 and it was so slow the subject was unrecognizable.
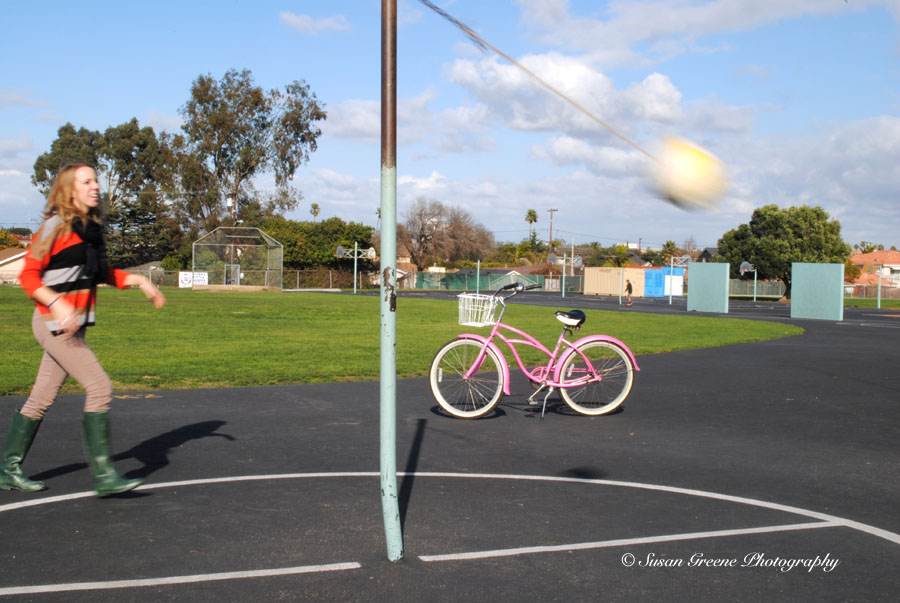
At the playground, a tether ball beckoned.
 So, we set up and had some fun here.
 For old time’s sake. . .
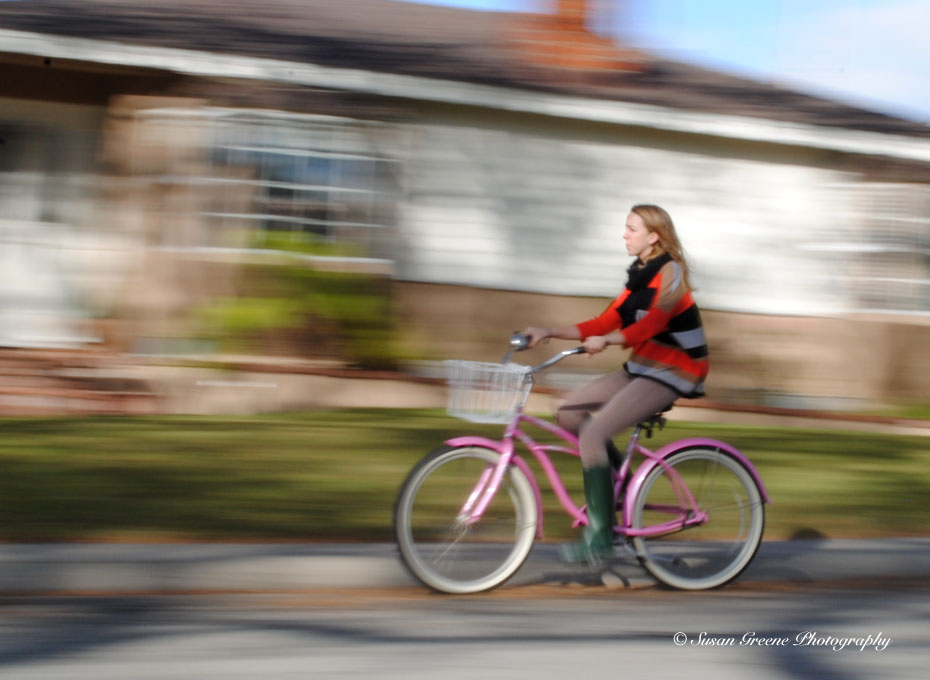
 Another method of conveying motion is panning. This involves following a subject with your camera creating a blurred background and focused subject.
 To achieve this effect, use the tracking mode in auto-focus (or as an alternative you can preset your focus to the spot you will be capturing your image), a slower shutter speed (once again anything from 1/30 down), holding the camera very steady follow your subject in the viewfinder and moving the camera in the same direction as your subject, shoot away. A fluid movement is key to this effect. If there is any jerkiness your subject will also end up out of focus. A mono-pod or tripod can be used but sometimes this is more troublesome, the choice is yours. This works best for subjects moving in a predictable motion that remain at a constant distance from you; subjects moving in a line parallel from you. Cars, bikers, joggers and pets (anything moving really) are all fun subjects for the panning technique. It can be tricky and may require some practice but is a fun tool to add to your photographic toolbox.
So go on and get out there and embrace the blur!

~ Susan
Précis:
Blur can be used in photos to convey motion and this can be achieved by using a slower shutter speed and keeping your camera still on a tripod while an object or something moves through your scene creating a blurry subject and focused background or by using a slower shutter speed and moving your camera with your subject creating a blurry background and sharp subject.
Practice:
Think of things in motion you everyday and how you can convey that motion in a photo.
Using a tripod, set up and capture the blur of something moving while the rest of a scene stays in focus.
Pan your camera with a moving subject. This may involve taking many photos to get one but it’s worth it.
Play:
Call upon your most faithful model and set up a scene with them in motion. Could be jogging, skateboarding, bike riding, scootering or even simply walking with gusto and try using both motion capturing techniques on them. Play around using different shutter speeds also.
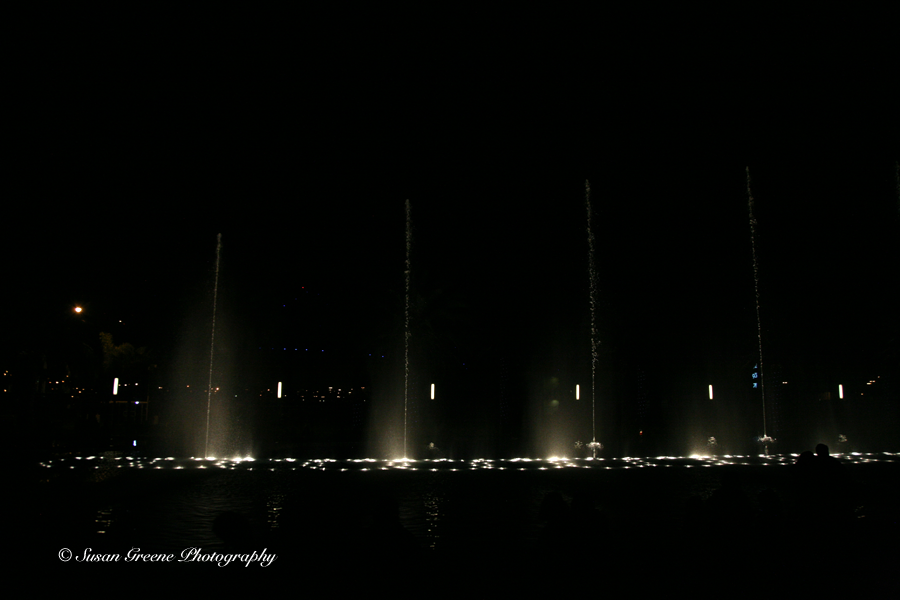
 The fountains are choreographed to songs as if the water is dancing.
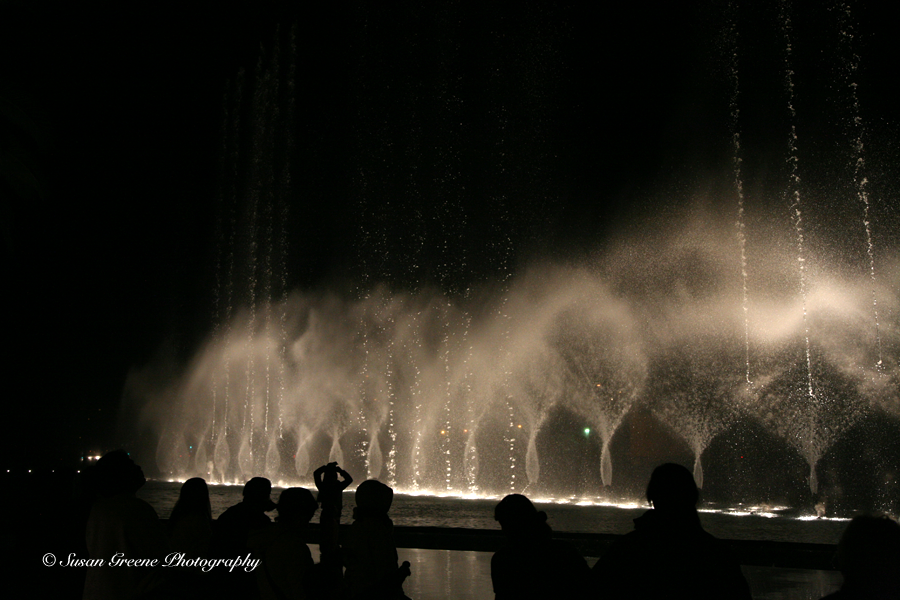
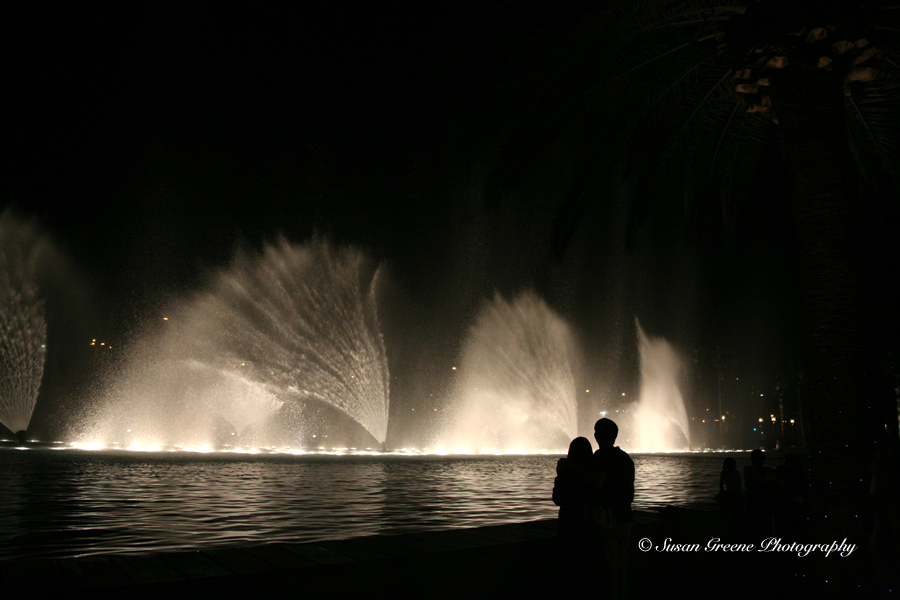 When photographing lights, I like to expose for the light and create a silhouette of foreground subjects.
 or let it blur. Getting swept up in the music and water motion and breaking into your own dance is not uncommon.
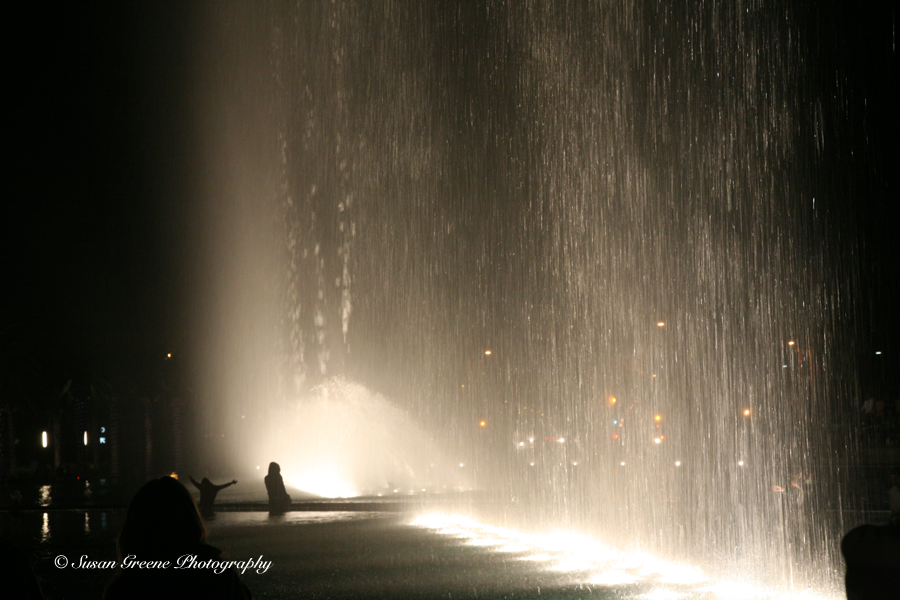
 A tripod is a good idea when photographing in low light situations to avoid blur from camera movement. If you don’t have one with you, placing your camera on a solid surface is an alternative (keeping your camera away from the water, of course!)