Hey There, Man in the Moon!

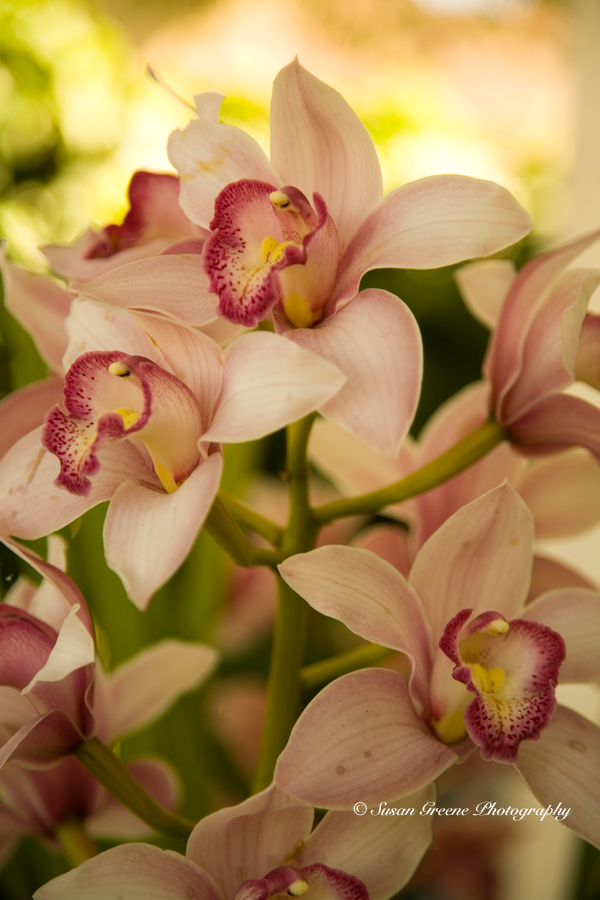
Wrapping up this month’s shadow exploration prompted me to turn my camera towards the moon. I have always had a fascination with the moon, maybe it comes from growing up during the Apollo space program and watching the astronauts bouncing around on its surface or liking the idea of a “man in the moon” watching over us and keeping us safe at night. Whatever it was, I have been admiring and photographing it for years.  _MG_2264

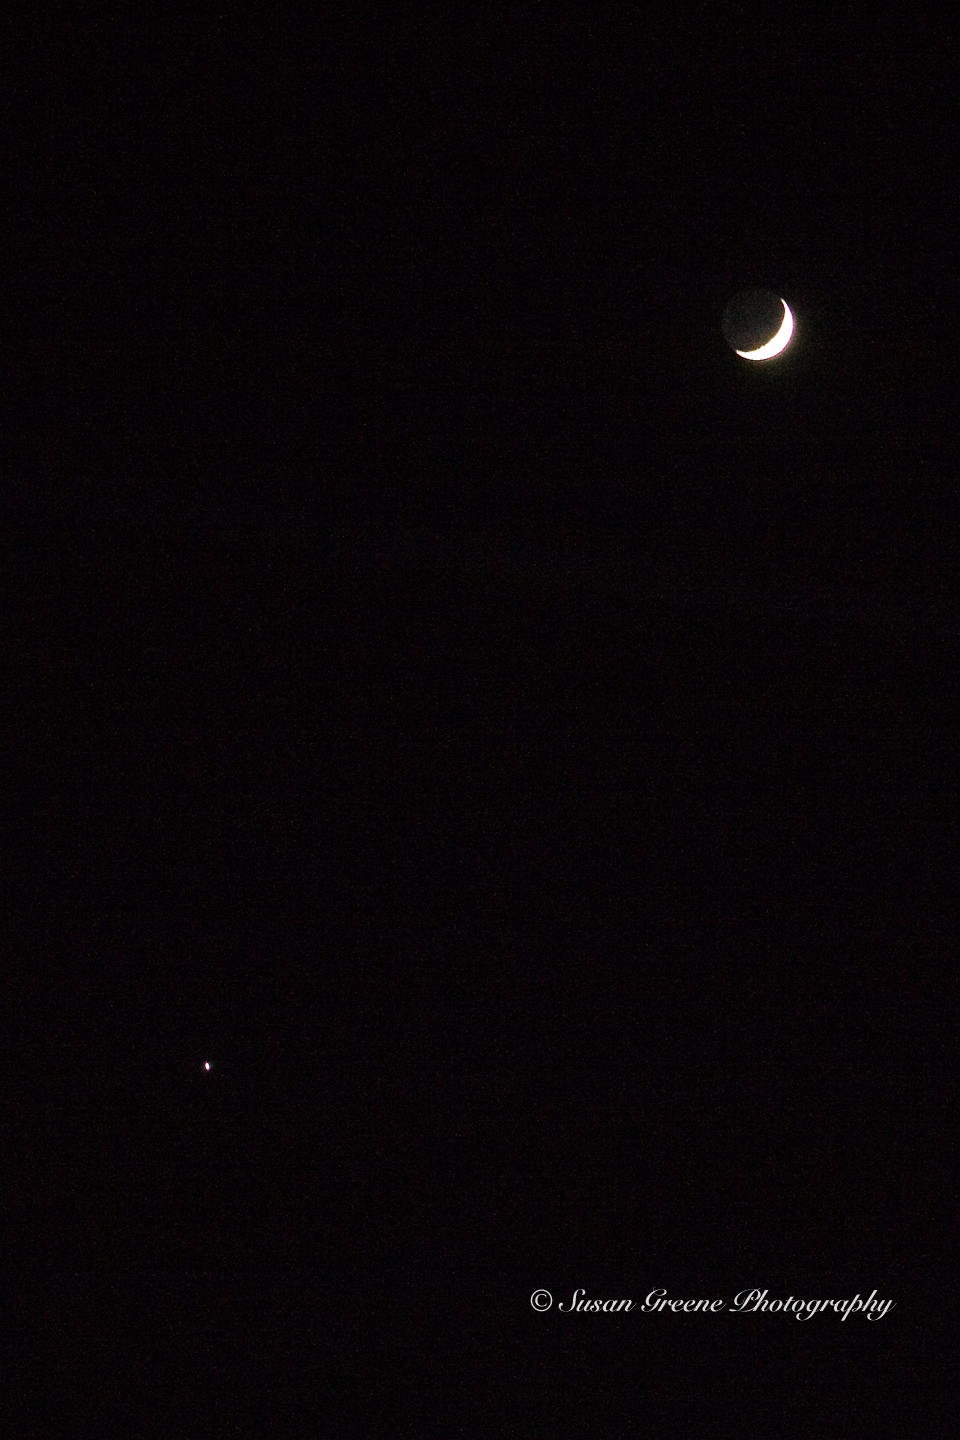
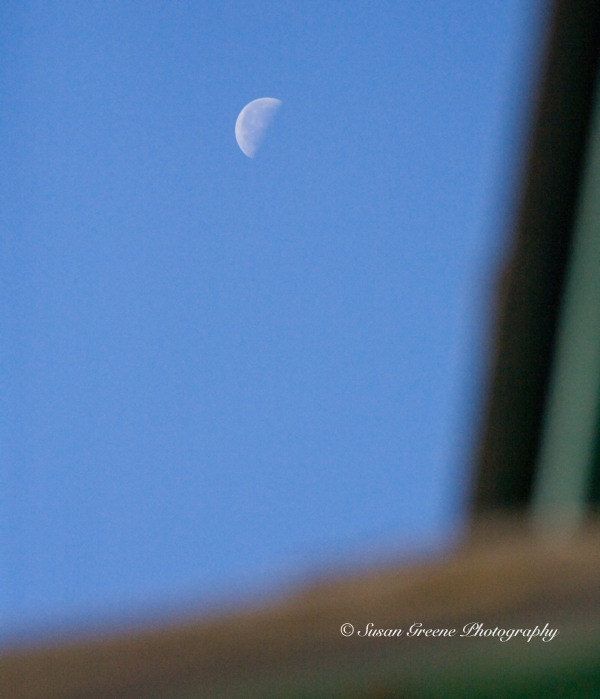
The moon is continuously lit by the sun on one side. We see changes in the size of the illuminated part due to our location in relation to the moon at different times during the month. The lit portion is most easily observable, the rest remains shadowed. However, the shadowy bit is often faintly visible – not when it makes a daytime appearance though.

_MG_2486During a full moon, is the optimal time for examining the shadows of the surface and searching for the face of the “man.”

_MG_2447
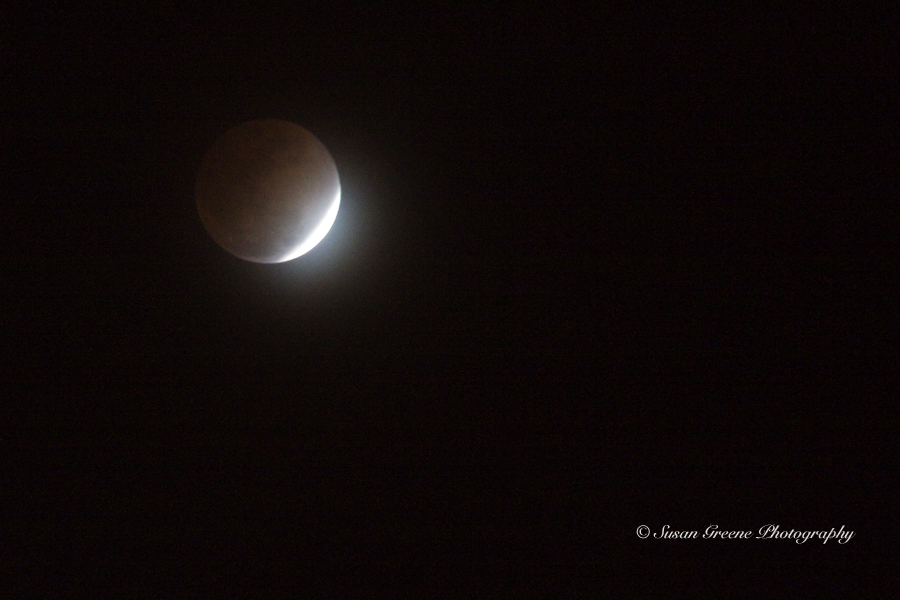
Occasionally, the moon,earth and sun line up in such a way that the moon passes into the earth’s shadow creating an eclipse. On February 20, 2008, there was a total lunar eclipse. Seeing the earth’s shadow slowly makes its way across the moon thrills me.

IMG_1910

IMG_1928Photographing the moon can be tricky, since it is a very bright object against a very dark background. First of all, a tripod is highly recommended along with a remote release, or using the self-timer on your camera will work if you don’t have a remote. A low ISO, 100 or 200, and smaller aperture, f16 or greater, are recommended for capturing the details of the surface. The shutter speed is what you will adjust for a proper exposure, a slower shutter speed will inevitably be necessary, explaining the need for the tripod. It helps to use a long telephoto lens. The moon is relatively small in the big sky and using a telephoto lens will bring it closer to fill your frame, 300mm lens or longer is recommended. Use the spot meter on your camera to obtain the correct exposure for the moon. Sometimes, you may have to improvise. Recently while riding in a car I spotted a moon shot I wanted to take but with no tripod I adjusted the ISO higher and aperture wider.

_MG_2265

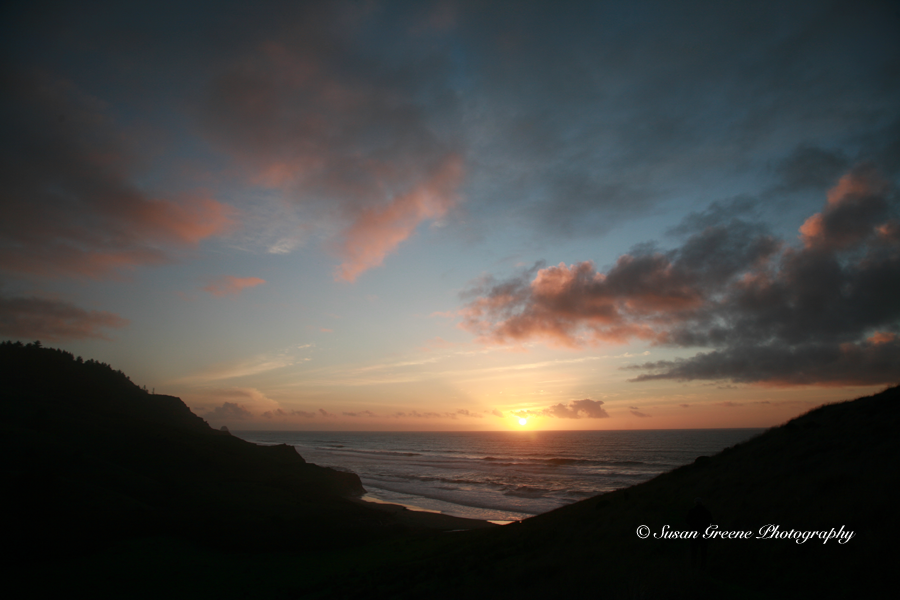
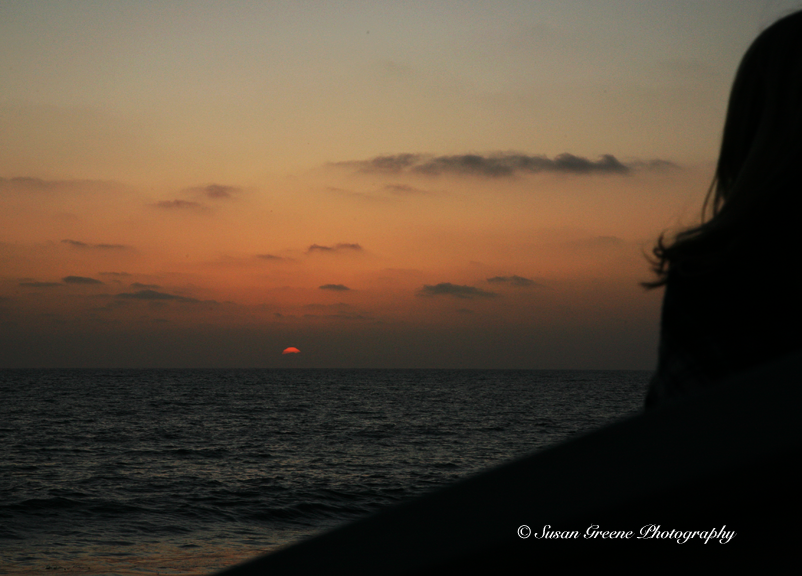
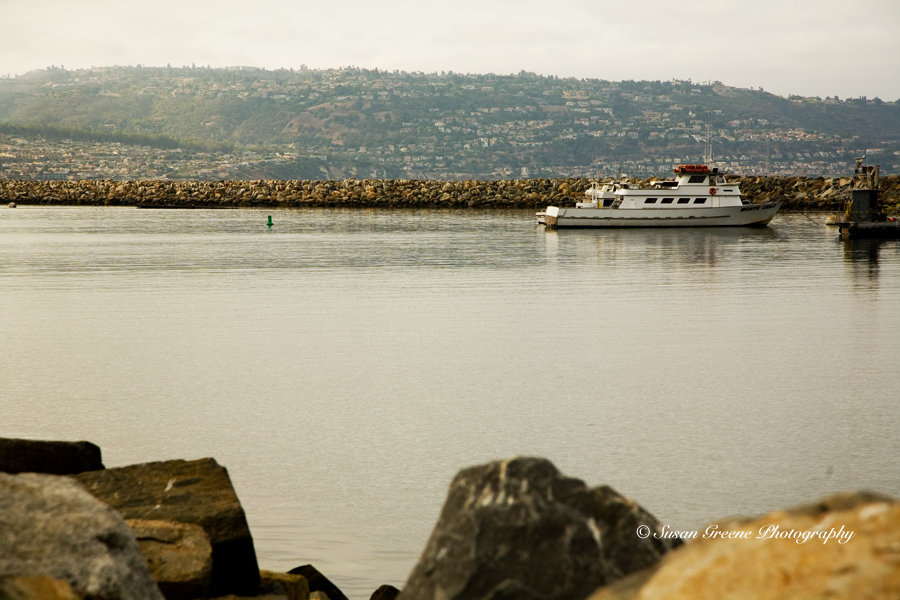
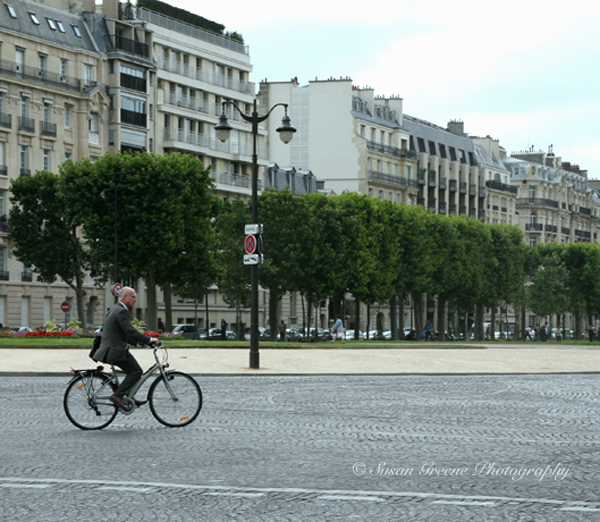
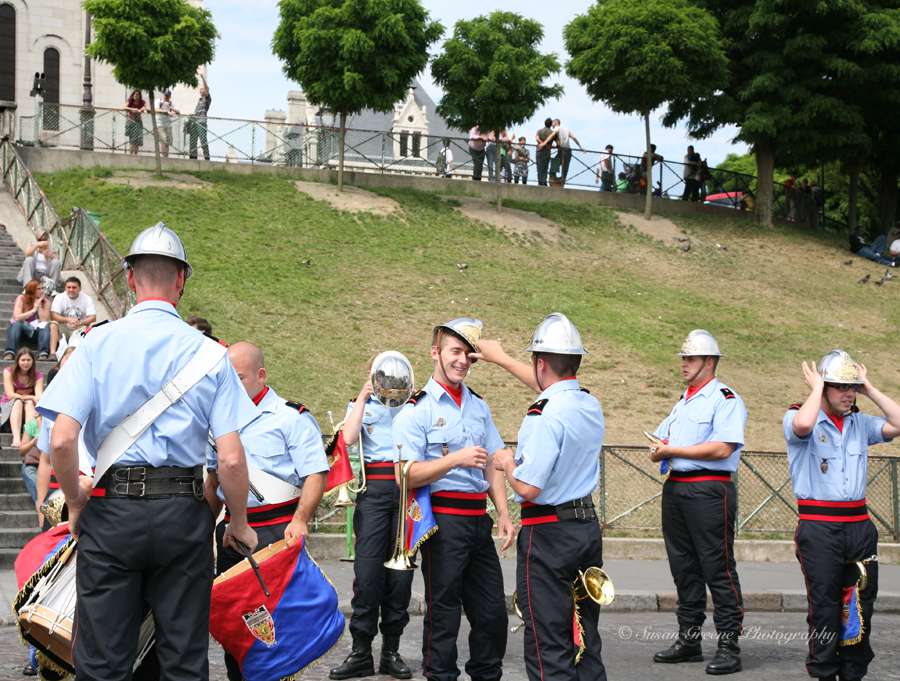
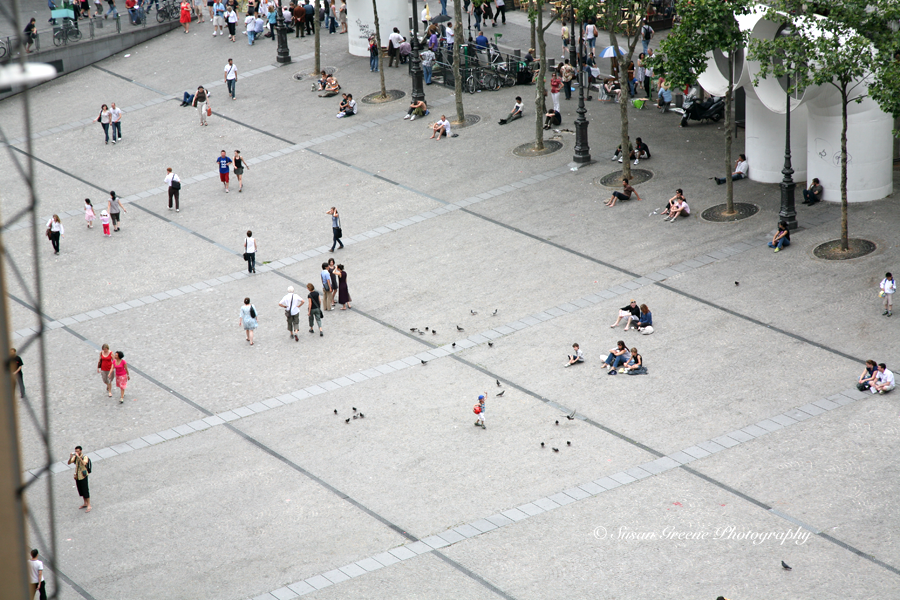
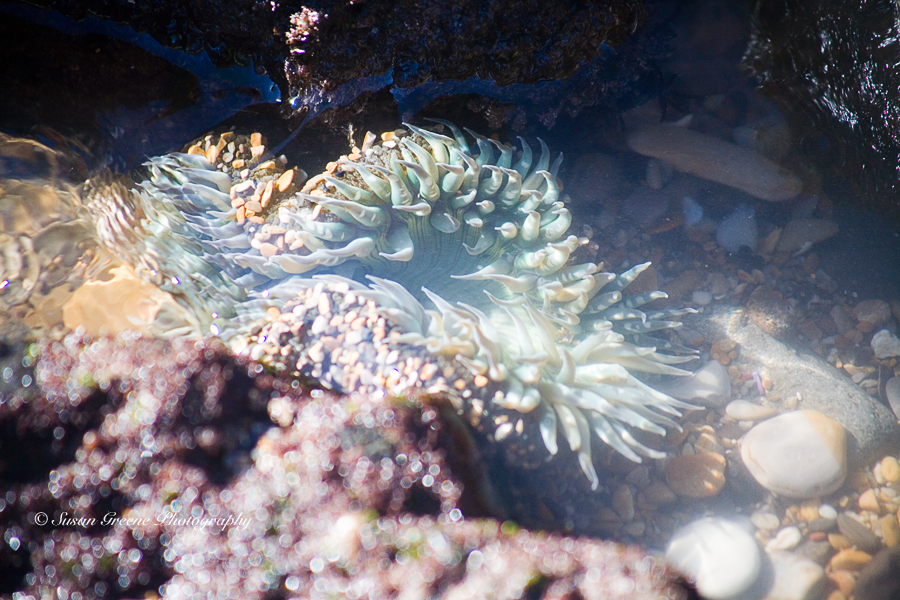
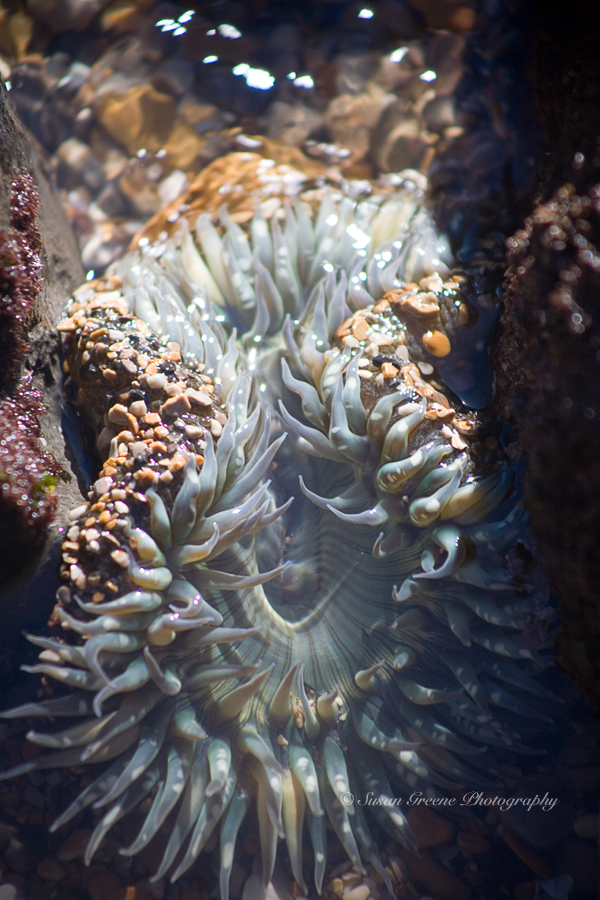
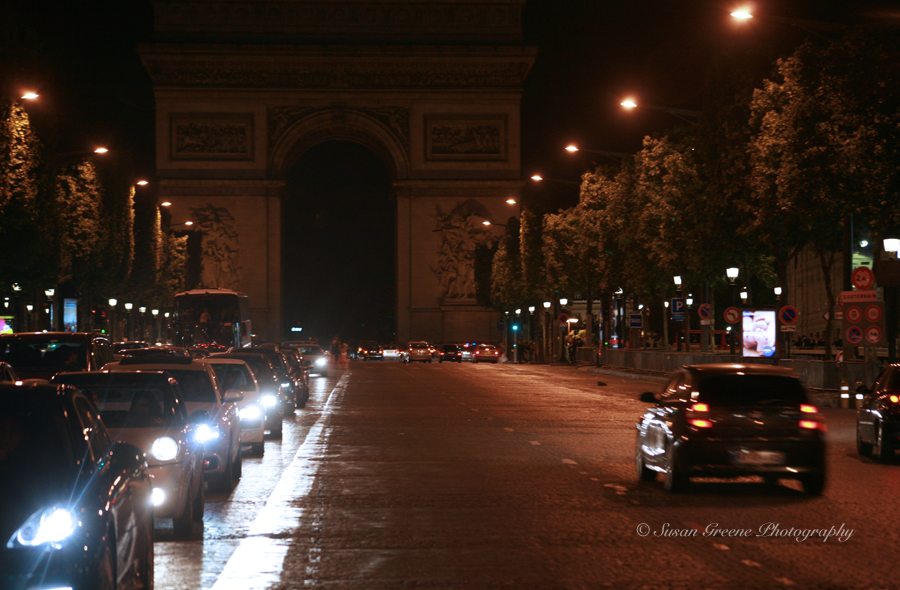
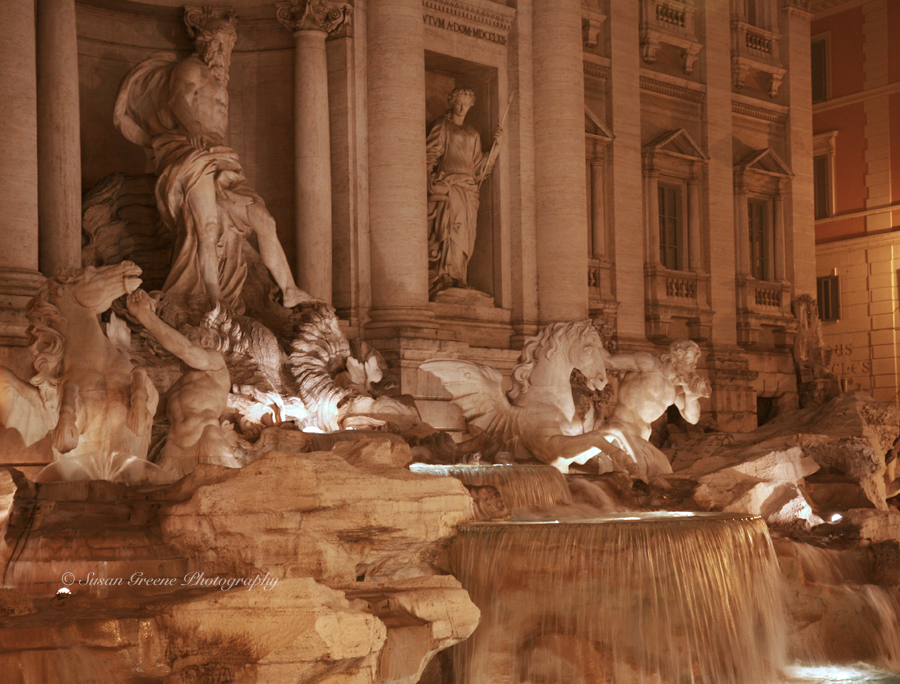
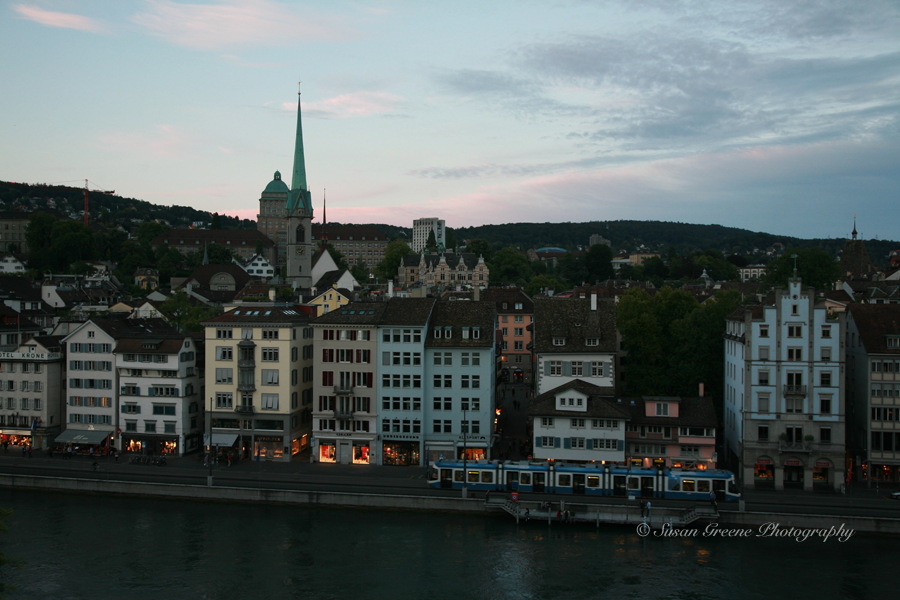
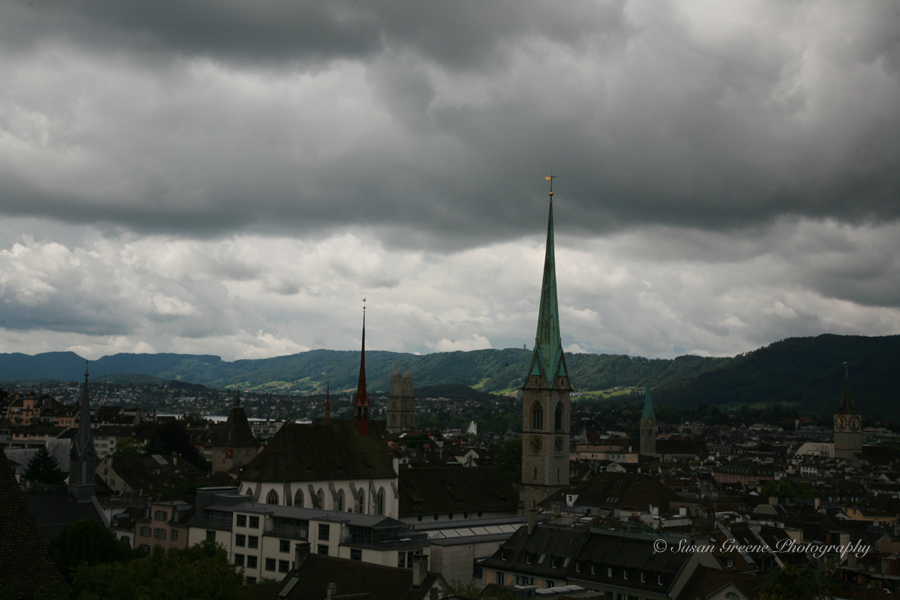
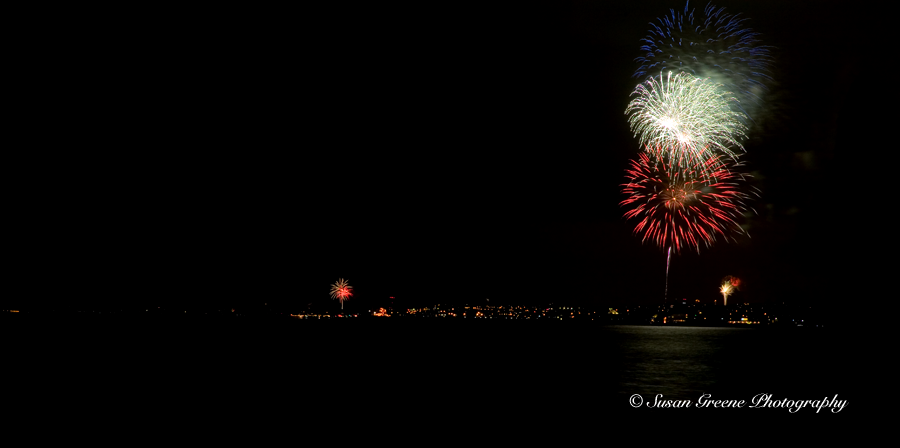
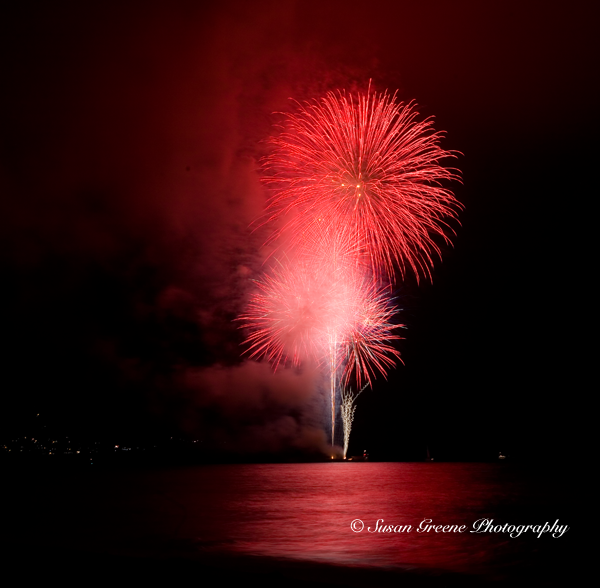
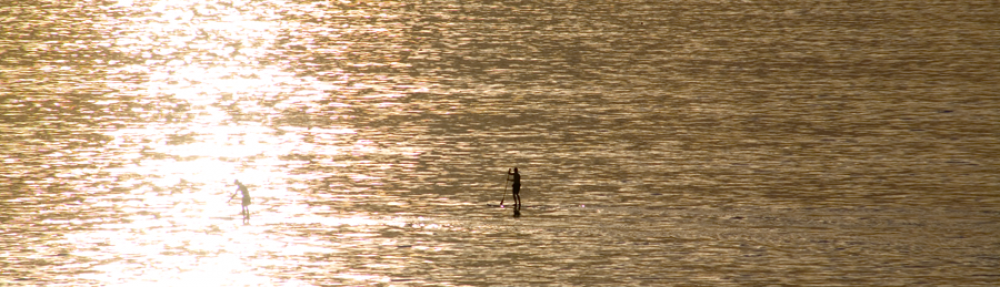
Adding elements to your image along with the moon can add interest and a sense of place.

Looking to the sky and hoping to see the man in the moon.

~ Susan

Composition and Framing the Subject

IMG_2462.JPGWhen composing your photos and thinking about what you are trying to say with your photo or convey to a viewer, you might consider adding a type of framing element. By blocking parts of an image, the viewer’s attention is drawn to whatever subject you choose.

Adding a framing element to your photo can add context and interest.

IMG_2656

Also, a sense of depth and dimension can be imparted by adding foreground components.

IMG_2621.JPGThe addition of a person walking among the redwoods enables a viewer to grasp the enormity of their size while the placement within the opening of the tree adds interest.

IMG_9484Trees, leaves and branches make for colorful natural framing tools.

CA  country


Another technique for using leaves to frame a shot is to shoot through leaves using a telephoto lens thus creating a very blurred foreground and isolating your subject.

matilijaWindows are often used as framing devices . . .

IMG_4469even car windows. An architectural element, such as an arch, can be a fun frame as well.

IMG_0349

Using people as a frame works also, shooting through heads or over a shoulder adds an embellishment and silhouetting them adds drama.

IMG_9016 The frame doesn’t have to completely surround your subject either; it can be on one, two or more sides.

When adding framing elements to a photo ask yourself what you are trying to accomplish and will the frame add to that goal. If the answer is yes, go for it! Most of all, have fun looking for ways to add framing to your photos and play around with it. It can make you look at your images in a different light.

This week I will be looking at things with a new frame of mind,

Susan


Composition and The Rule of Thirds

_MG_0079

Sometimes, I like to venture over to our local marina and imagine I am one of them – a boat owner – the “people of the boats” I like to call them. I envision climbing on board one of the welcoming vessels and heading out to sea navigating to an island paradise. Or, perhaps, cruising down the coast to another town, anchoring in its harbor and spending the day exploring. Each one of those boats possesses  the potential for adventure. What a way to travel! But alas, eventually reality sets in. I am not a person of the boats. I get seasick for one thing and the sight of the boats being scraped of barnacles or painted, varnished and having general upkeep performed on them reminds me of this. It’s still fun to daydream though and recently I slipped in to the harbor with the idea of composition, specifically the rule of thirds, in mind.

_MG_0044

The purpose of the rule is to help with composing  interesting and compelling photos. It involves mentally dividing your viewfinder or photo into a grid with two vertical  and two horizontal lines which are crisscrossed to make a 3X3 grid, like a tic-tac-toe game. The idea is to place the parts of the photo you want to be the points of interest near the intersecting points of the grid.

_MG_0055When photographing a landscape, it is much more compelling, generally, if the horizon is not in the middle of the picture but aligned with one of the lines of thirds.

_MG_0098By placing the horizon line in either the top or bottom third, the emphasis will be on either the sky or the water or land.

Some movement in the water caught my eye and I discovered there were a number of round rays swimming amongst the rocks.

_MG_0065Then, as I was getting ready to leave the harbor, a heron flew across the horizon. It can be difficult to capture moving subjects in one of those grid intersections. Re-composing via cropping can be done in photoshop later. You don’t want to rely on that all the time but it can help occasionally. Also, there is a grid you can use in photoshop in case you are having trouble visualizing the grid in your mind.

Heron in FlightI believe we shouldn’t be too restricted by rules in our creative endeavors, so keep it in mind and experiment with the rule thirds when composing if you haven’t yet, but if you like your horizon lines in the middle of your photos, go for it.

Cheers,

~ Susan

Candid Vacations

IMG_3347 candidBeing on a trip and exploring cities brings out the street photographer in me. I attribute that partly to the desire to capture the people in a city, out and about, involved in either their own explorations or everyday routines. The other part is putting in the effort to keep my camera with me, out and ready at all times. I want to have it handy when something strikes me as a moment to hold on to.

IMG_3898 candidIn Paris, the streets are filled with tourists and residents alike and the opportunities are abundant. This group was preparing for a parade around the streets of Sacré Coeur one afternoon. I happened by and was able to capture this jovial moment.

IMG_3975 candidI couldn’t resist capturing this trio. Were they with a group or did they simply decide to dress alike that day? I’m not sure, but I found it worth remembering.

IMG_4278 candidWhile touring around the Olympic arena area of Barcelona a few years back, I witnessed this game and found it charming and worth noting.

IMG_4118 candidIn Spain, at the time of their Euro Cup victory in 2008, the celebrating reached levels I had never before witnessed. In the town of Alcala de Henares, it seemed as if everyone was watching the big match and when Spain won, they all spilled out into the streets to celebrate. We walked into a restaurant for dinner and were immediately swept up in the revelry by the owner. The country pride and thrill of victory commemorations continued well into the night!

IMG_3834 candidThe way Parisians utilize the city’s public spaces is admirable. Folks can be found sitting on the ground or on ledges, also lounging in some of the many chairs and benches, placed so abundantly around the city; relaxing and visiting all hours of the day and night. I find it charming.IMG_4611 candid


My companions were thankful for one of those benches in one of the many museums we visited, especially near the end of this long, fun and adventure filled trip.

If you are out and about and wanting to capture some of the local flavor. You can set yourself up in a location you like and wait for the action to come to you, in the manner of Henri Cartier- Bresson, or you can have your camera out and ready for anything that interests you as it crosses your path, like Bill Cunningham, or, perhaps a mix of the two styles will suit yours.

Find what inspires you and catch it.

~ Susan

surf shutter

_MG_9279surf shutterFor the exploration of the last aspect of the exposure triangle, shutter speed, I slipped into my flip flops and headed to the beach – click on the highlighted elements of the other two parts of the triangle, ISO  (also here ) and f-stop , if you missed them and want to catch up. The shutter controls how long the camera’s sensor is exposed to light. Shutter speed  is measured by fractions of a second and the numbers represent the denominator of the fraction,  a higher number is a faster speed, 500 is 1/500th of a second, which lets in less light and a smaller number is a slower speed, 13 is 1/13th of a second, which lets in more light. The numbers get lower until you get to a whole second which is denoted by 1″ and from there the numbers starts climbing again, my camera’s high end is 30″, or thirty seconds. The shutter also controls whether you will freeze an action in your scene or blur it. If the shutter is open longer, a slower shutter speed, there is more time for the camera to record motion. This is where you can get creative with your use of shutter speed. Moving water is fun to play around with. When exposed using a slower shutter speed, the water takes on a velvety look. For this photo, I used a shutter speed of 1/13.

_MG_9173surf shutterThen to freeze the water and capture the drops I used a shutter speed of 1/1000.

_MG_9190surf shutterThe exposure triangle comes in to play here because when you adjust one of the elements you have to compensate by adjusting one or both of the others to obtain a correct exposure. For the first photo, the shutter speed was 1/13 and the f-stop 22 with an ISO of 100. It was fairly early in the morning and beginning to get bright out (even though the sky was gray with clouds) so I had to shut my aperture down to the smallest opening possible and put the ISO down low to cut the light sensitivity of the camera in order to be able to use a slower shutter speed and capture the velvet blur of the waves’ motion. In the second photo, I raised the ISO to 200 and opened the aperture to f4 and used a shutter speed of 1/1000.

An egret flew in for a look about and stayed for awhile as I snapped away at the yellow-footed beauty. First, I wanted to catch it with detail and freeze any movement it might make and used a shutter speed of 1/125.

_MG_9212surf shutterThen, I wanted to capture the movement of the bird walking along the shore and switched the shutter to 1/13.

_MG_9214 surf shutterStanding perpendicular to the waves is a way to be able to capture the movement. A 1/6 shutter speed was the setting for this one, giving the water a soft, smooth appearance.

_MG_9235surf shutterAt a shutter speed of 1/500, you can see how the details in the water are distinguishable and the wave is frozen in mid-air.

_MG_9273 surf shutterIf your shutter speed is too low and you don’t have a tripod, you may end up with a blurry picture due to camera shake. In general, for hand-held photography use a shutter speed at or higher than the focal length of your lens, for example if the focal length of your lens is 100mm, you want to use shutter speeds of 100 or greater. The longer the focal length the more susceptible the camera is to camera shake. There may be times that you just have to use a tripod to get the shot.

If you are interested in further exploration of capturing motion check out this previous post.

With an eye for action this week,

~ Susan

What’s an F-stop?

We have explored ISO and the effect it has on exposure the last couple of weeks and next, we will consider another component of the exposure triangle in photography: aperture. The aperture is the opening in a lens, which can be adjusted to be larger, smaller or somewhere in between. The numbers representing this opening are called f-stops. The f/stop numbers have an inverse relation to the opening size: the smaller value of the number the larger the opening in the lens and more light is let in; conversely, the larger the numerical value the smaller the lens opening and less light is available.

_MG_8079anemoneWhen shooting at a wider opening or, a smaller numbered f-stop, the depth of field is also affected. With the lower f-stops or smaller numbers, you have a shallower depth of field; especially helpful when you want to isolate your subject from the background.

_MG_8083anemoneHere, using an f/5.6, the anemone is in focus but the top portion of the photo is beginning to blur.

A smaller f-stop can also be used when shooting landscapes and you want to bring attention to one element or person.

_MG_5453shore cactusSince the ocean is on a very different plane than the cactus the ocean water details turn a velvety blue when using the f/5.6 setting in this photo.

For the egret in flight, a f/7.1 setting was used which results in most of the elements of the photo in focus.

_MG_8564egretWhen everything in sharp focus is the goal than an f-stop of 11 or higher should be used. For this landscape, I chose a setting of f/22.

_MG_8088rocky shoreIf you would like to re-visit another backyard sisters post on depth of field and f/stops using a different subject click here.

Also, if you would like to learn more about exposure, there is an excellent book by Bryan Peterson titled Understanding Exposure, it gives an in-depth explanation of the different aspects of the exposure triangle accompanied by creative and colorful photos.

This week you will find me out looking for depth in my field,

~ Susan

Low Light, High ISO

Traveling, for me, involves evening and night time strolls around cities and visits to museums and cathedrals. All these have one thing in common, the available light is very low. When strolling after dinner and exploring a city, I don’t usually want to carry a tripod and prefer the natural light as opposed to using a flash. So, turning the ISO up helps me get the shot. After arriving late one evening in Oklahoma City, I went straight to the Memorial and arrived as the sun was setting. As night fell and the lights turned on, I turned my ISO up to 1600 and tried to do justice to the solemnity of the location.

OK City memorial iso

Walking around the city of Paris one night I pulled out my camera and set my ISO to 800 and snapped this image.

l'arc de triomphe iso

A night time stroll about Rome lead to this famous fountain and it’s night time appearance. I used an ISO 800 here so I could use a slower shutter speed and let the flowing water blur.

trevi fountain iso This fountain is no less popular at night.

trevi fountain crowd iso


Many museums and cathedrals don’t allow flash photography. At the Centre Pompidou, I turned the ISO up to 1600 which allowed for a shutter speed of 1/60 with an f4 to capture this intriguing work of art.

centre de pompidou isoThe Art Institute of Chicago is the home of many works of art and  I was able to view one of my favorites, Paris Street; Rainy Day by Gustave Caillebotte. Seeing this up close and personal meant I couldn’t pass up the opportunity to capture it. ISO set to 800 for this one; you may find that the lighting in a museum allows a little lower ISO setting to be used.

art institute iso The Museo dell’Opera del Duomo Is the location of the Florence Pietà and after having just seen the St Peter’s Pietà I wanted to see this version, the ISO set to 1600.

Florence Pieta iso

In Europe, the cathedrals are just as full of art work as the museums and flash photography is often frowned upon or not allowed.

The statue of the Madonna and Child, in the Basilica di Santa Maria Maggiore, captured my attention by their outstretched hands and the way they seem to be welcoming and greeting so peacefully.

madonna and child isoRemember to look up in cathedrals for the ceilings are usually very impressive also.

St Peter's ceiling isoThis ceiling from St Peter’s Basilica with the shaft of light shining down is an example of the details given to every inch of space.

Newer cameras’ ISO capabilities have grown tremendously. My Canon 5D original version high end ISO is 1600 expandable to 3200. Last holiday season, I had the chance to use a Canon Rebel T4i with a high end ISO capability of 12,800 which is expandable to 25,800. I took it out in to my neighborhood and shot some Christmas lights hand held and was very impressed with the quality of the results.

Christmas lights isoUsually, I need a tripod when shooting the Christmas lights in my neighborhood but here I used ISO 10,000 and was able to capture this scene.

Sometimes, a high ISO is necessary to get a low light shot.

Try turning off that flash and raising your ISO and see what you think.

~ Susan


Exposure and ISO

skies 0205The skies in Europe can be so interesting and gorgeously filled with cloud formations. They will be the subject while exploring exposure and the place of ISO in the triangle.

The exposure triangle is a term used to explain the elements that work together to create a well-exposed photograph. It has to do with the amount of light let in to the camera and the three components used to control it: aperture, shutter speed and ISO.  Aperture refers to the opening in the lens and how large or small it is. The numbers representing aperture are the f stop numbers and the larger numbers represent a smaller opening. Shutter speed is how long the film or sensor is exposed to the light and the ISO is the film or sensor’s sensitivity to light. All of these elements can be adjusted to give different results. Here’s where you will have to venture out of auto mode and begin to play around if you want to learn the effects of changing these settings.

I am exploring ISO today and these shots taken at dusk in Zurich illustrate the effect simply changing the ISO can have on your result. These photos are shown how they appeared straight out of the camera. The aperture, f/7.1, and shutter, 1/50, settings are the same on all the photos. The first is with an ISO of 1000:

skies 0330Noticing that the pinks, which were appearing in the sky, weren’t coming out in the photo I lowered the ISO to 640:

skies 0331This was better but I still wanted more so I lowered it even farther to ISO 400

skies 0332The lower the ISO setting the less grain will be introduced in to your photo. In the middle of the day, when there is plenty of light, using an ISO setting of 100-200 will give clear, colorful photos.

skies 9850skies 9231The ISO can be low and the f stop high and there is no problem capturing enough light to obtain a good exposure. When looking to the sky, I like to use lower ISO numbers to obtain true colors with low grain, or noise.

Sometimes, a darker mood is the goal.

skies 0357Let your artistic eye be your guide.

Next week, I will consider the effects of a higher ISO and how it can be utilized in low light situations.

Until then,

~Susan

Fireworks!

fireworks 2There is nothing for making a celebration grander than fireworks! Watching the flare ascending and then bursting with colors filling the sky with light gets my spirits soaring as high as those fireworks.

fireworks 4July 4th marks our country’s 237th birthday and it’s the perfect occasion to take in a fireworks show. I have the opportunity to be on the edge of the continent, in a bay and when the weather is nice, I can see many displays from a seat at the local beach.

fireworksWhen one show ends you simply sit back and wait for the next one to begin.

fireworks 5Sometimes the down time is filled with people’s own shows.

fireworks 1With so much going on, it’s the perfect opportunity to capture the revelry.

Here are some tips for you to capture your experience:

First you need a camera with manual mode. To minimize camera shake, a tripod and a remote release are recommended. Set your camera to a low ISO setting of 100-200. Fireworks are bright and an f-stop in the mid range of f/9-f/16 lets enough light in to allow the colors to stay true and not get washed out. Set your shutter to bulb (B on Canon), this setting will keep the shutter open as long as you hold down the shutter button.  Make sure your lens is on manual focus, and focus to infinity or wait until the fireworks begin and focus on them. A medium  telephoto zoom lens works well, I use 24-105mm. Now position yourself so you will have an unobstructed view and you are ready to shoot. Listen for the launch and release the shutter and hold open for anywhere from 2-30 seconds. The longer you hold it open the more bursts you will capture.

fireworks 3Some locations add music and the fireworks exploding to beats in the songs makes for an especially thrilling experience.

fireworks 6Happy Independence Day and hope you can get to a fireworks show to celebrate, and stay until the grand finale!

~ Susan

The color of light and balancing the white

A light is a light is a light, right? Nope. Light sources can be warmer (with more reddish tones) such as a candle or an incandescent light, or they can also be cooler (with more blueish tones) such as in the shade or a cloudy day. You may have noticed that some times your pictures have certain tints to them and the color doesn’t look natural. This is where white balance comes to the rescue. The camera will add more of the missing hue in an effort to balance out the tint created by a light source and achieve more natural looking colors. I used the last blooms of the orchid on my patio as a subject. The plant is in open shade. Auto white balance will often produce a fine result but sometimes some tweaking is necessary or just fun to try.

This is the auto white balance shot:

auto WBIn this case, it is a fairly accurate color depiction but I will carry on. Different cameras have different white balance settings so you will have to get out your manual for your particular camera’s settings.

Next I used the daylight setting:

daylight WBThis adds a slight warmth to the picture.

The shade setting, symbolized by a house with diagonal lines off one side, is next:

shade WB Shade is a cooler light and the camera adds warmer tones with this setting.

The cloudy setting:

cloudy WBOnce again warmer tones are added.

Next the tungsten setting:

tungsten WBThe blue tones are strong with this setting because pictures taken under tungsten lighting will have a strong orange hue to them and the blue will balance it out. Generally, this is used indoors.

Next, fluorescent setting:

fluorescent WBThis is a cooler hue also.

Another method of white balancing is using the Kelvin scale of color temperature. The lower numbers are the warmer hues so the camera will add cooler colors. When I set my temperature at 2800K this is the result:

2800K WBInversely, the higher numbers are cooler temperature colors so the camera adds warmer tones, this is set to 10,000K:

10000K WBThen, there is a range in between these. You can also set a custom white balance by taking a picture of a white or neutral gray sheet and thus telling your camera what white is and it will adjust accordingly.

There is no rule that you must use a certain setting in a certain condition. You can decide what you prefer as the photographer. Maybe you like warmer tones in your photos or cooler. It is fun to play around with them and see what you like; just one more creativity tool!

Performing a balancing act,

~ Susan