Cameras are great! They are tools for capturing our lives and expressing ourselves, but there are times when they just don’t get it right. Using the auto features on a camera will often work and produce the desired vision but … it’s those times when they don’t that can be exasperating. There are certain situations, when using auto-focus, the lens will have trouble bringing into focus what you want in focus. Low light, low contrast, trying to take a picture of something behind another object and active subjects are all situations that can bring on the frustrating state of the lens searching for focus but never achieving focus lock. There is a solution! Slide the button on the lens over to MF (manual focus). Follow me as I tackle some of these situations on my photographic journey . . .
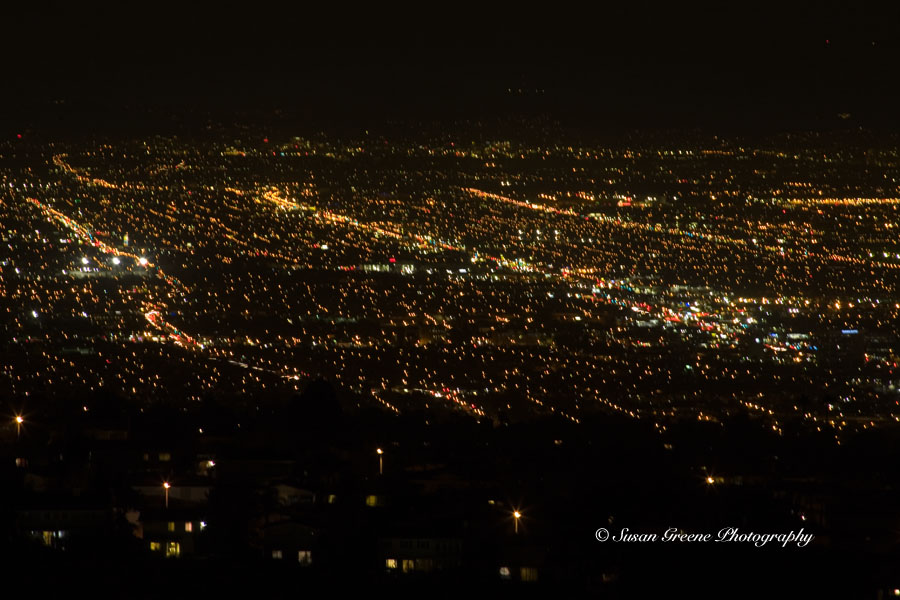
We have had some clear nights here in Los Angeles lately and the city lights have been shining and twinkling brightly. Wanting to capture the lights of downtown with the outlying suburbs, I drive to my favorite city light vantage point, set up with a tripod and find that in the low light of night, manually focusing the lens is the best way to achieve focus.
 It makes me feel as if I am in an airplane looking out at the lights below.

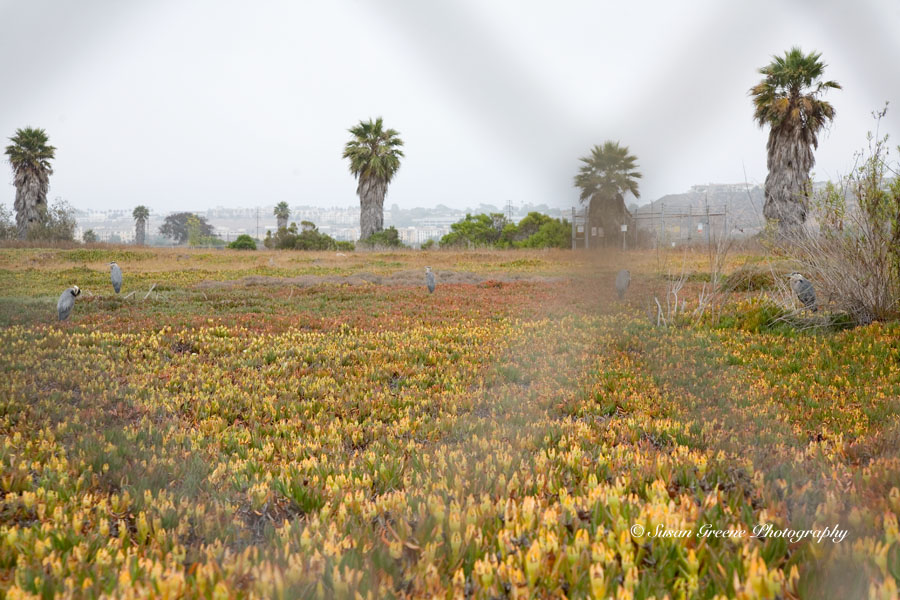
On a recent bike ride, I spot five great blue herons in a field behind a chain link fence. This is a rare occurrence in my experience on this bike path, the most I have seen before is three. Wanting to capture all five in one shot but not being able to get around the fence, I put the lens in manual focus and use the focusing ring to focus through the fencing. Maybe not the ultimate shot but I was able to capture it nonetheless.
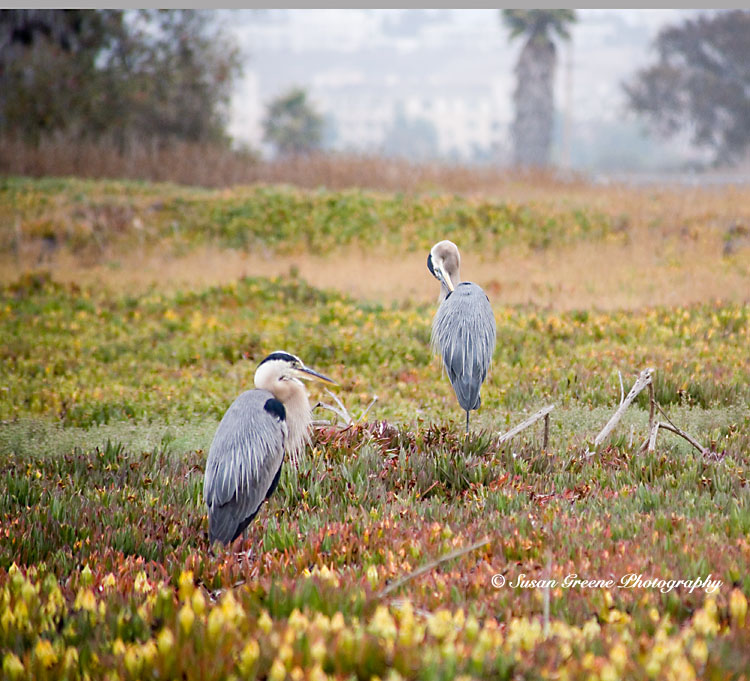
Can you see them? Then, I kept manually focusing, so any fencing wouldn’t interfere with my intended subject, and zoomed in on them, one and two at a time, through the links.


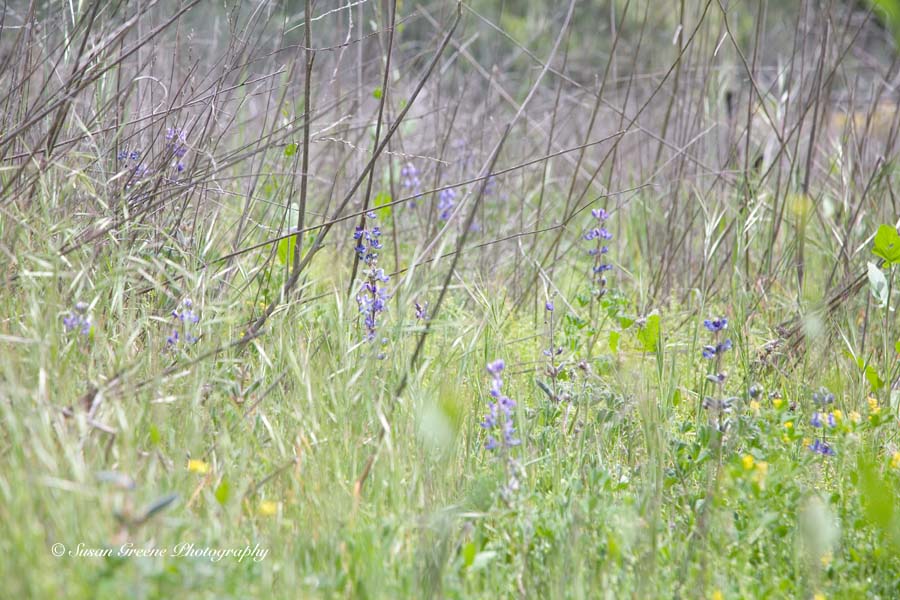
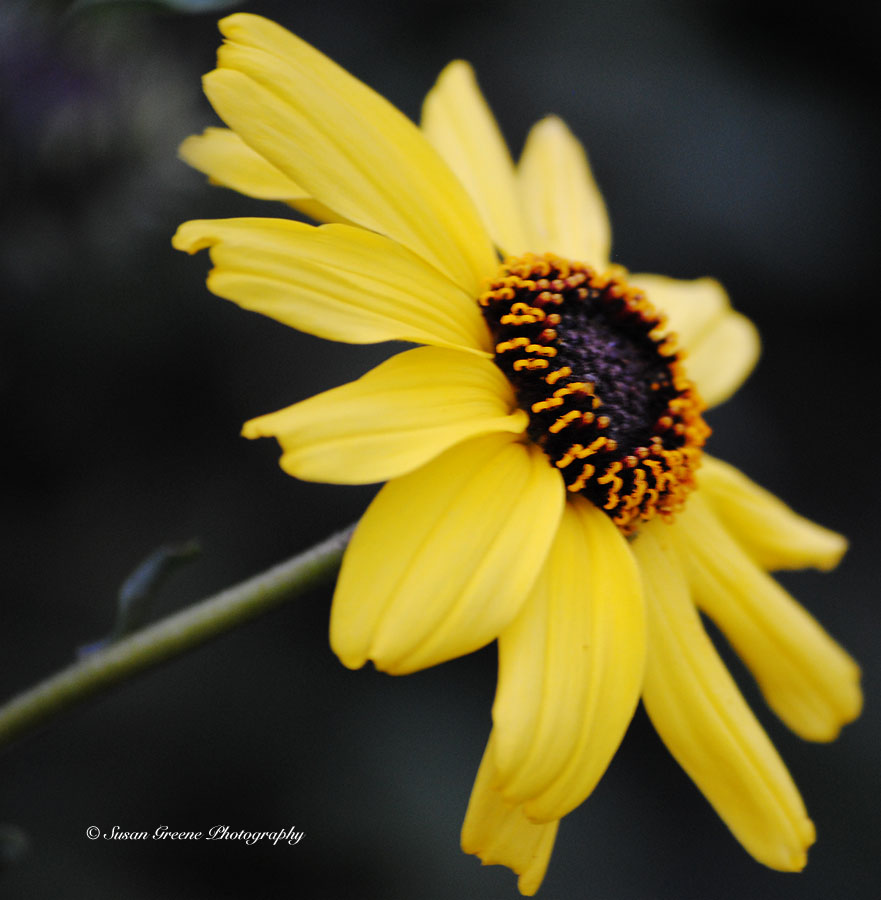
Sitting in my backyard, I notice the flash of white of a Matilija poppy peeking through the other foliage in the garden. I decide to take the shot through the other foliage, which is out of focus, and thus creating a frame of sorts for the poppy.
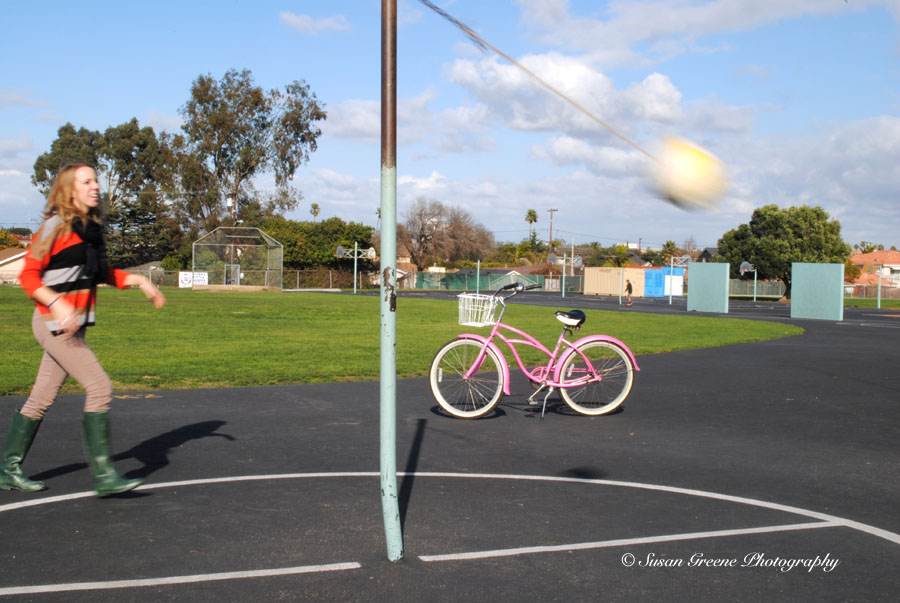
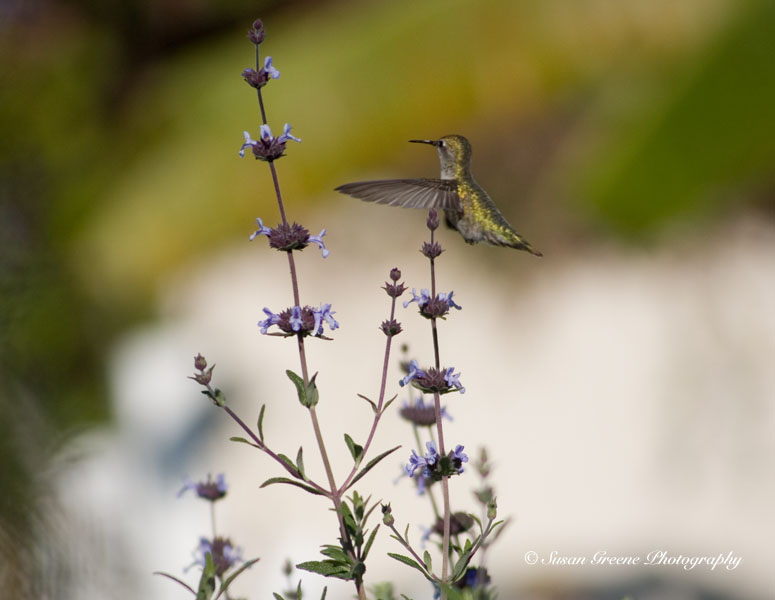
 A hummingbird is flying around a sage bush searching for nectar, so I focus on the area using manual focus and capture it. Pre-focusing on the spot the subject is expected to appear is a technique to use to help you get the shot.
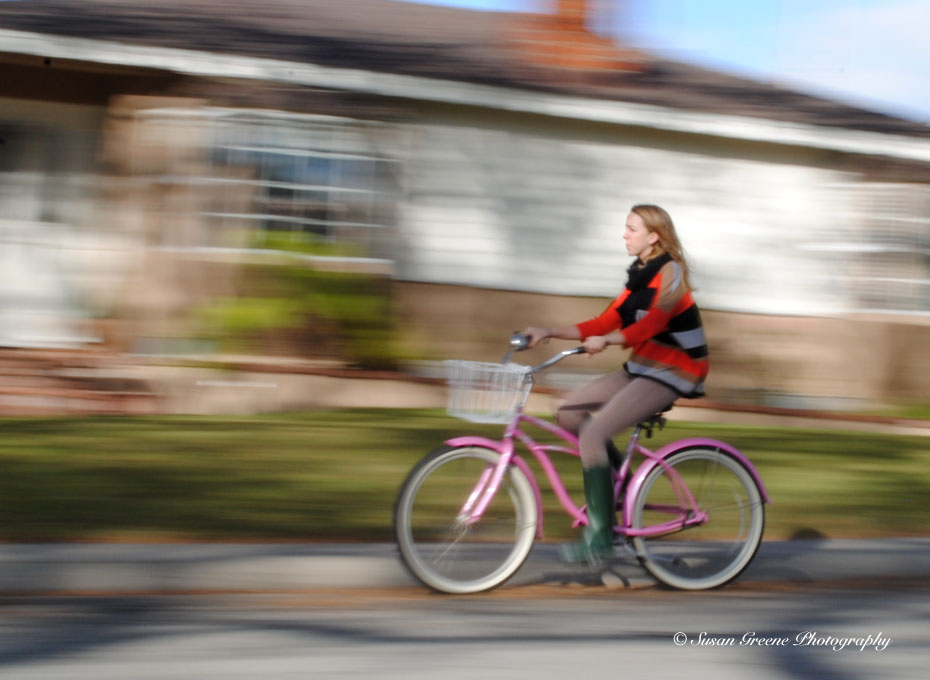
 The pre-focus technique will work for sports, dancing, anything where the subject is in motion and is in a fairly predictable location. Simply focus on the spot the subject is expected to appear using the focus ring in manual focus and take the shot once the subject enters the frame.
Now you are ready to take on some difficult shooting situations and conquer them!
~ Susan
Using Catherine’s lovely alliterative terms from last week,
Précis:
The camera doesn’t always get it right in auto modes. Certain situations, such as low light, low contrast, moving subjects and subjects behind another object, are best approached with the lens in manual focus rather than auto focus.
Practice:
Familiarize yourself with your lenses and the manual focus ring on them (it is different from the ring you turn on a zoom lens to zoom in and out.) Think of situations where you have had trouble focusing in auto-focus. Go out of your way to put yourself in those situations this week.
Play:
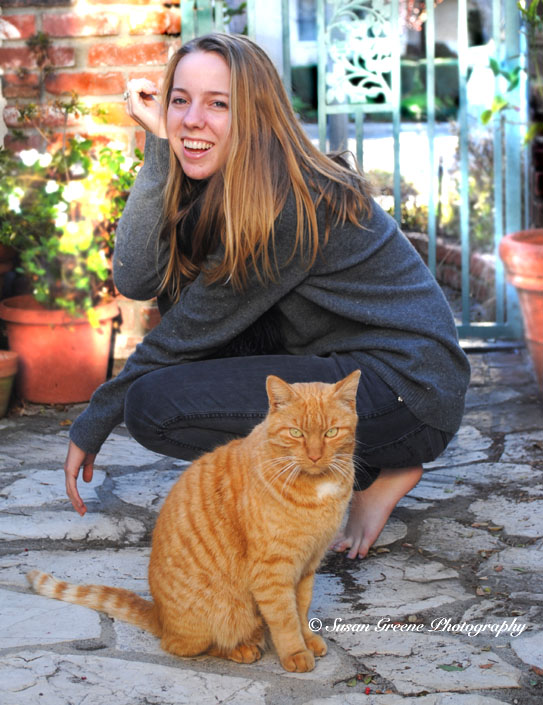
Get creative in low light or shooting through objects. Take a portrait in candle light or in a garden search out a flower or fruit hiding behind leaves and see if you can capture it through manual focusing.
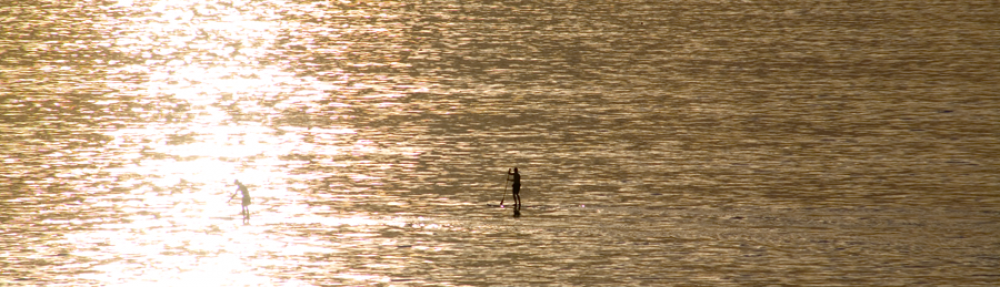
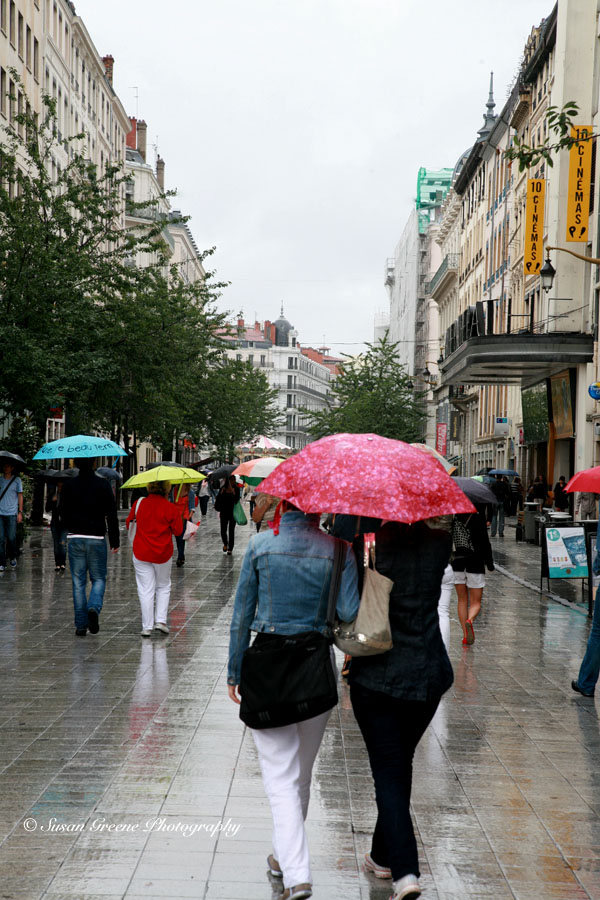
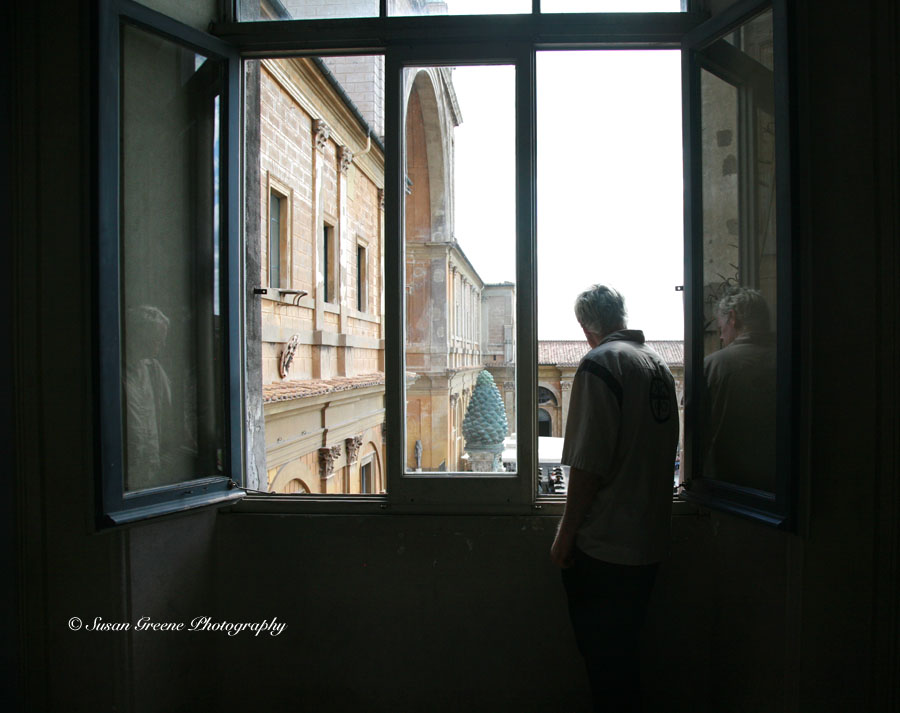
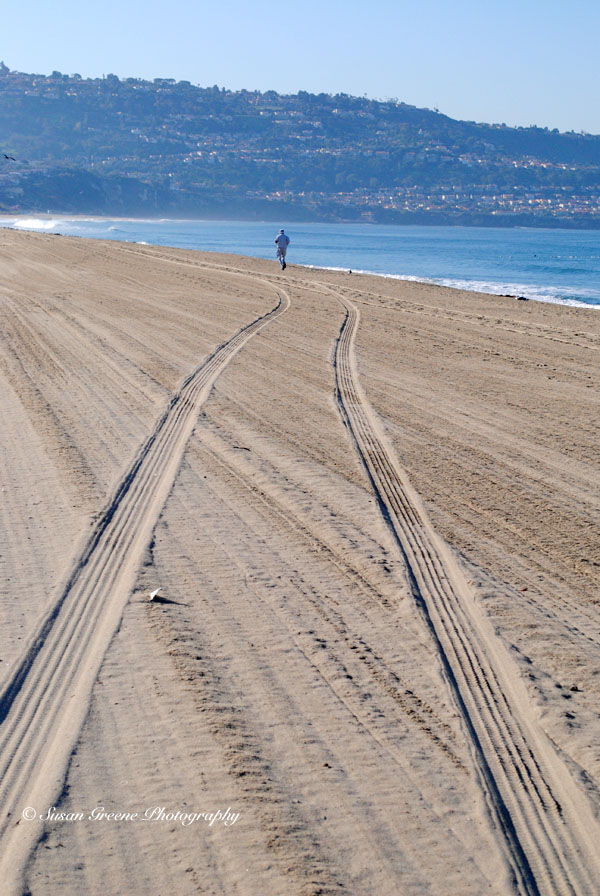
 There are days when the weather is not perfect, surprise! It may be cloudy or hazy or foggy. But that doesn’t mean you can’t take photos. You will get a different look to your photos those days. They will have a low contrast dreamy look to them because the sun is diffused which creates a more even lighting. The dark black shadows and bright white highlights are tempered.
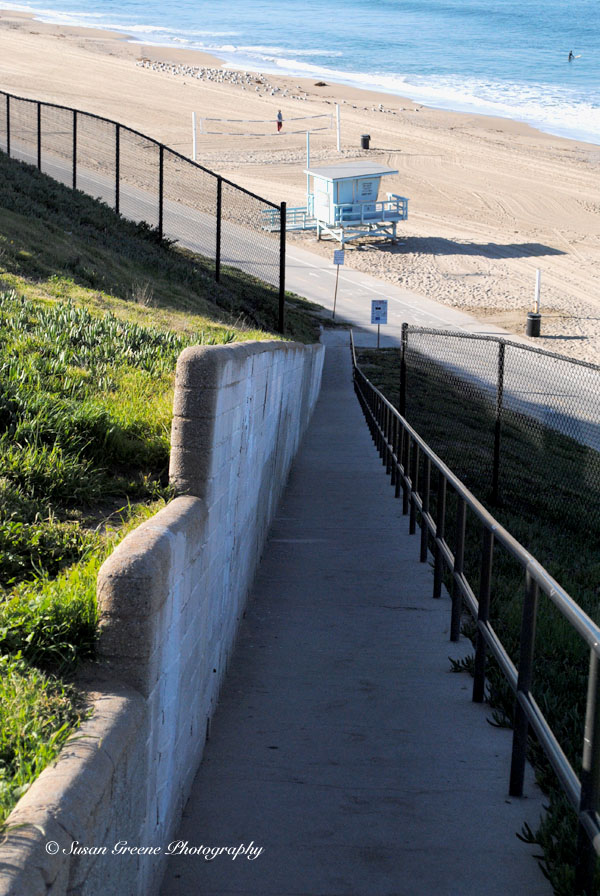
 I find I gravitate to coastline landscapes on these days, maybe because the fog we so often find ourselves enshrouded in here creates the low contrast lighting and there is a sense of mystery to a foggy coast.
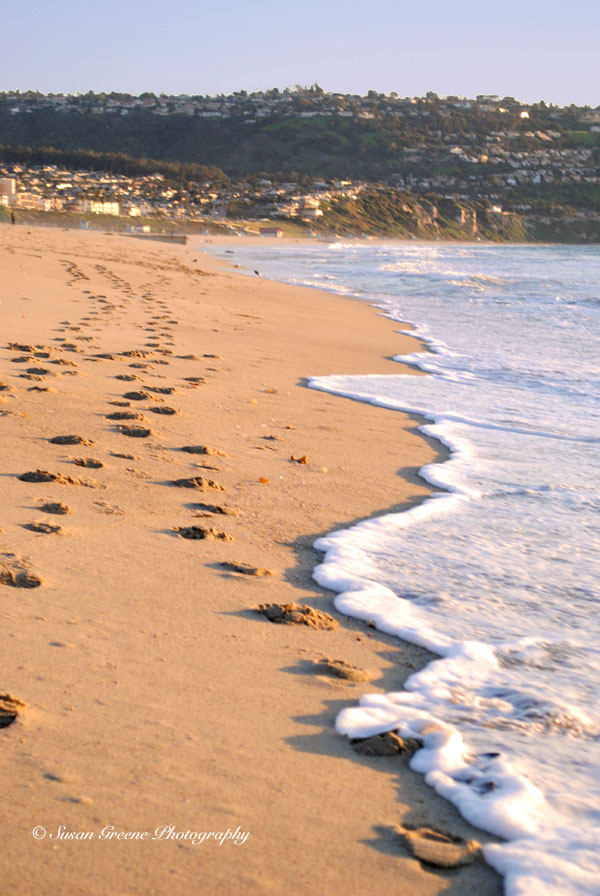
 I have also noticed many catalogs and wedding photographers are using low contrast lighting in their photography. One way to achieve this is to shoot towards the sun and expose for the model which often creates an overexposed background or by adjusting the contrast and brightness in post processing.
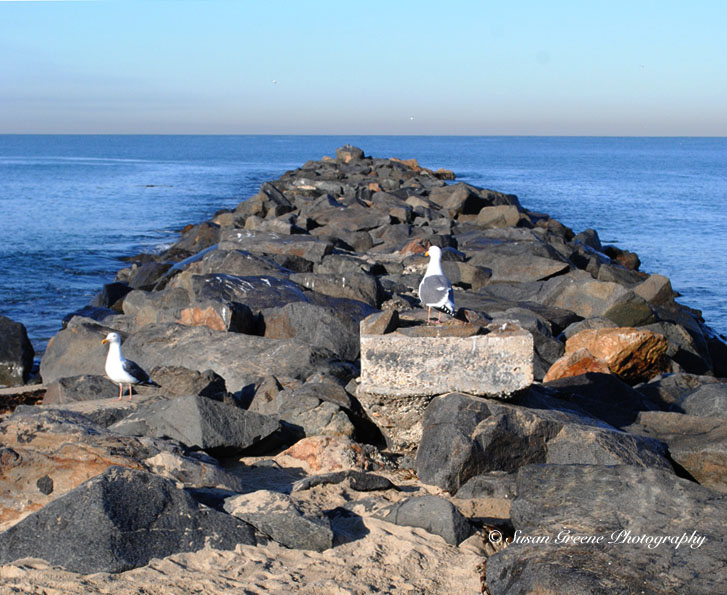
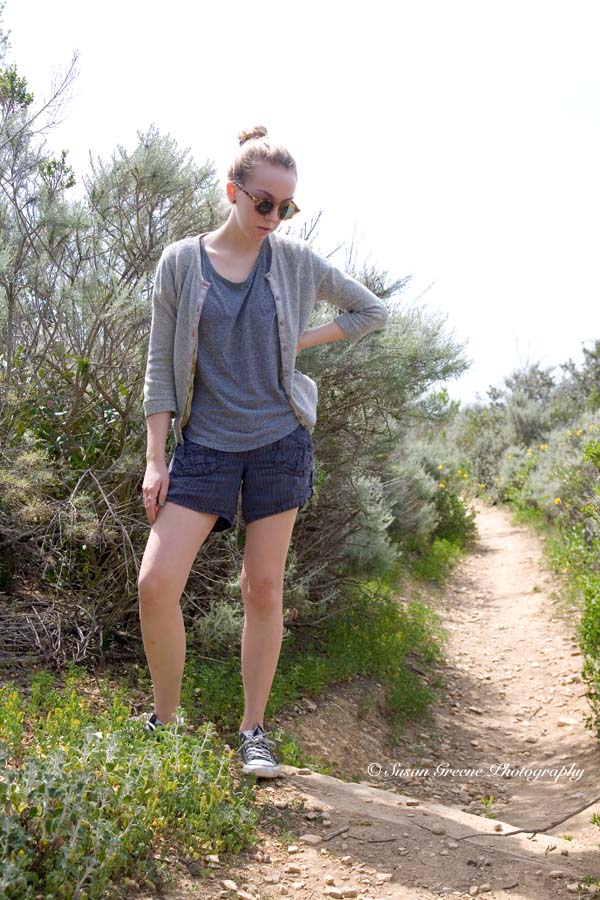 Simple subjects or scenes tend to lend themselves to this type of look.