Exposure and ISO

skies 0205
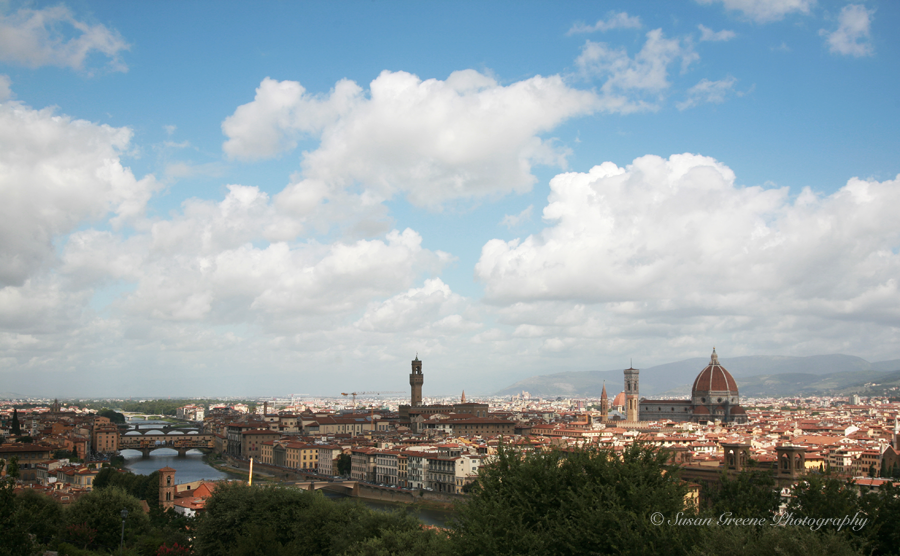
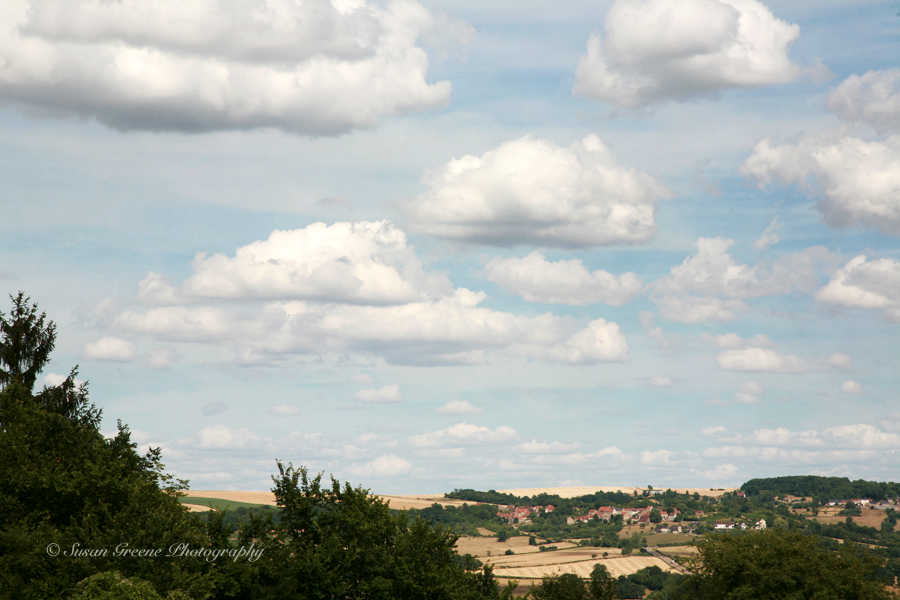
The skies in Europe can be so interesting and gorgeously filled with cloud formations. They will be the subject while exploring exposure and the place of ISO in the triangle.

The exposure triangle is a term used to explain the elements that work together to create a well-exposed photograph. It has to do with the amount of light let in to the camera and the three components used to control it: aperture, shutter speed and ISO.  Aperture refers to the opening in the lens and how large or small it is. The numbers representing aperture are the f stop numbers and the larger numbers represent a smaller opening. Shutter speed is how long the film or sensor is exposed to the light and the ISO is the film or sensor’s sensitivity to light. All of these elements can be adjusted to give different results. Here’s where you will have to venture out of auto mode and begin to play around if you want to learn the effects of changing these settings.

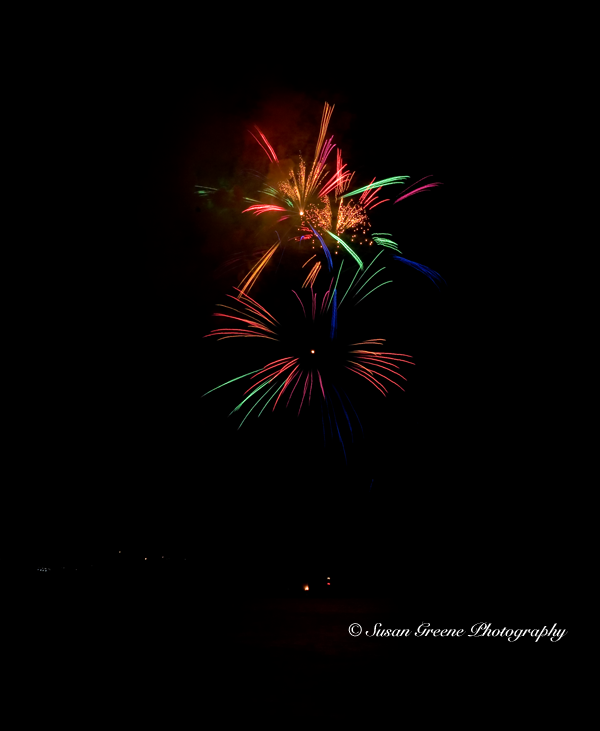
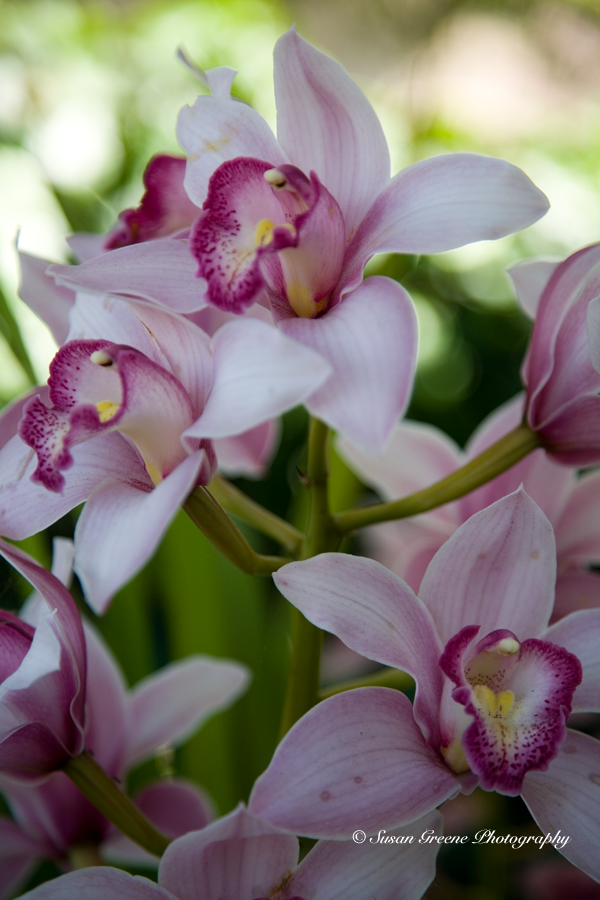
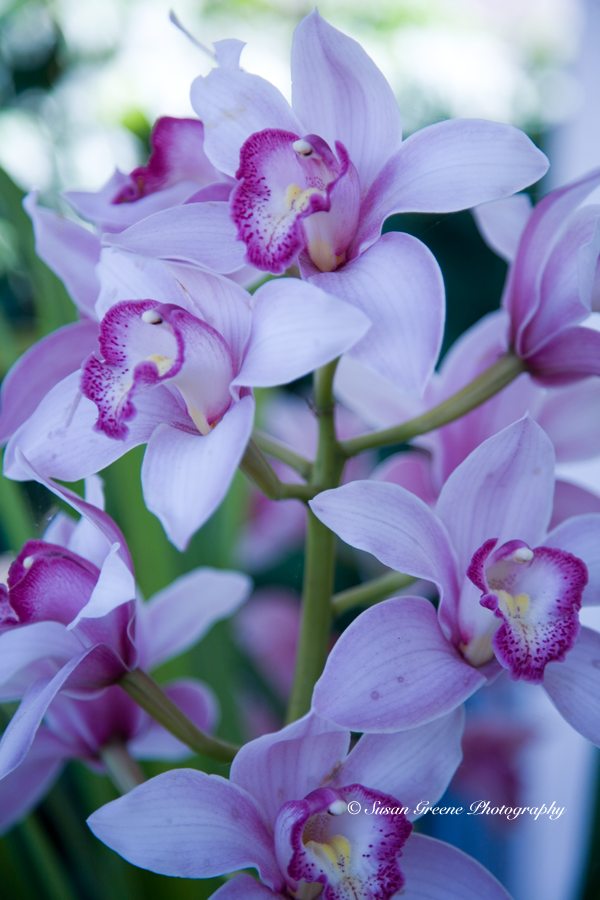
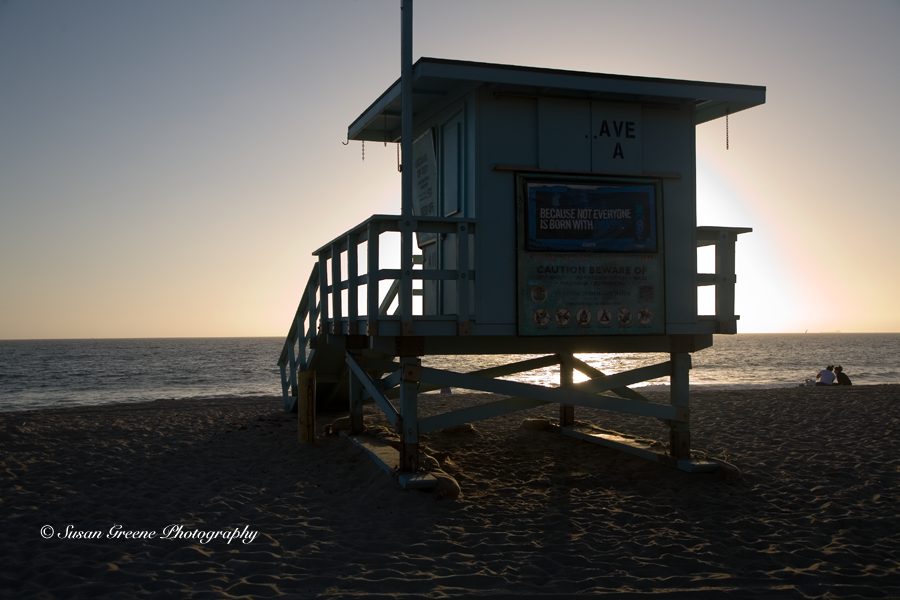
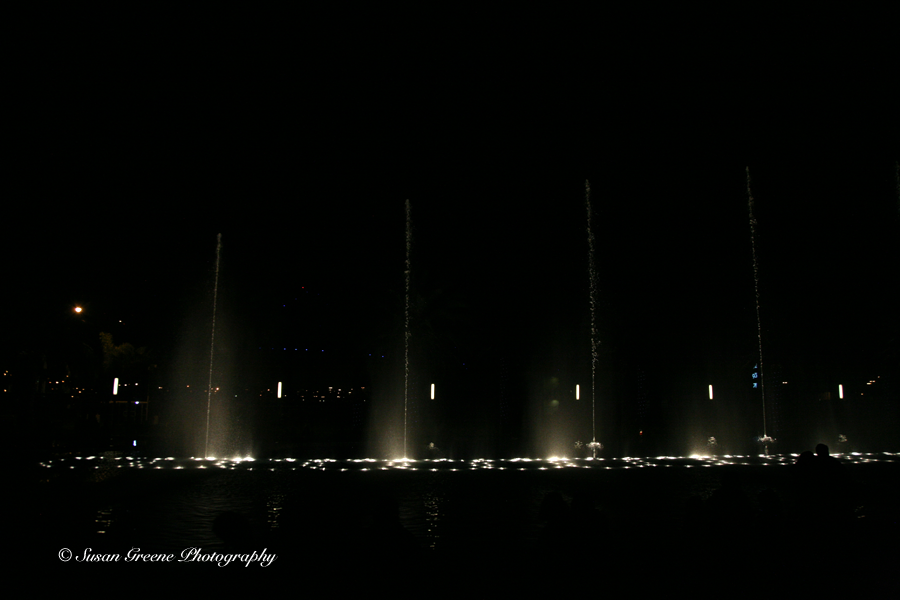
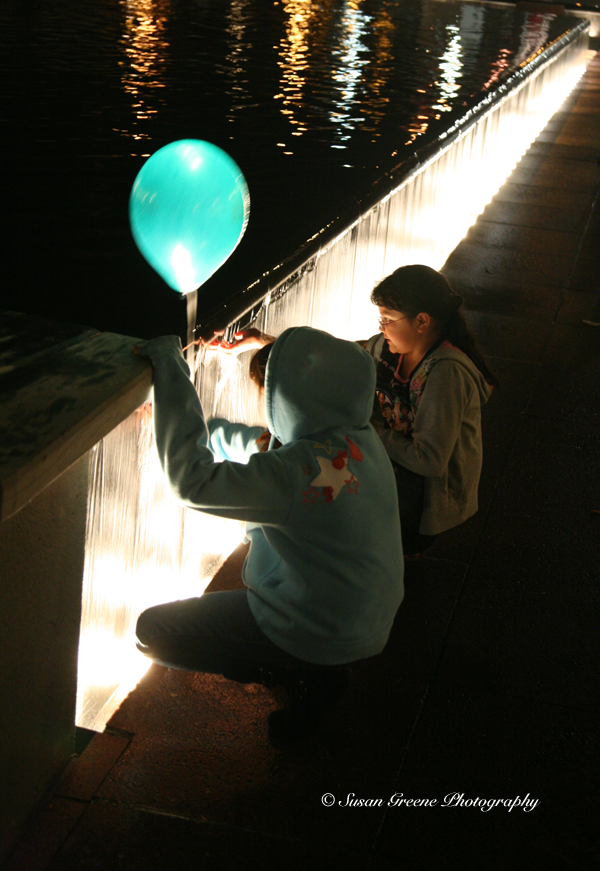
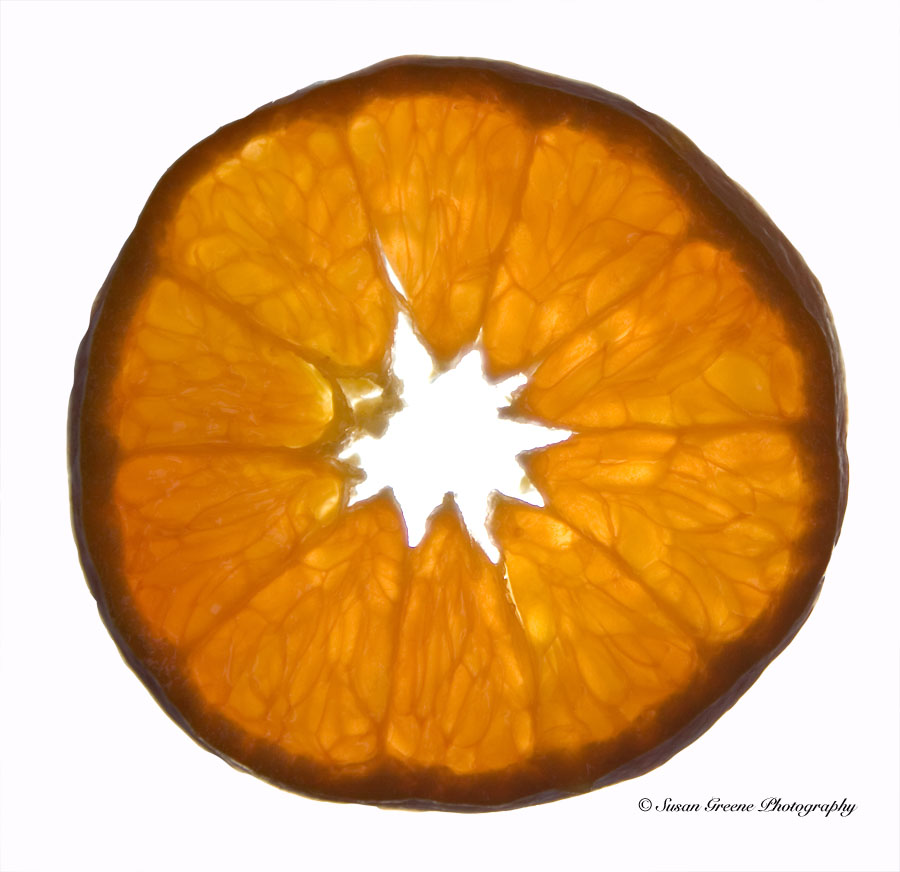
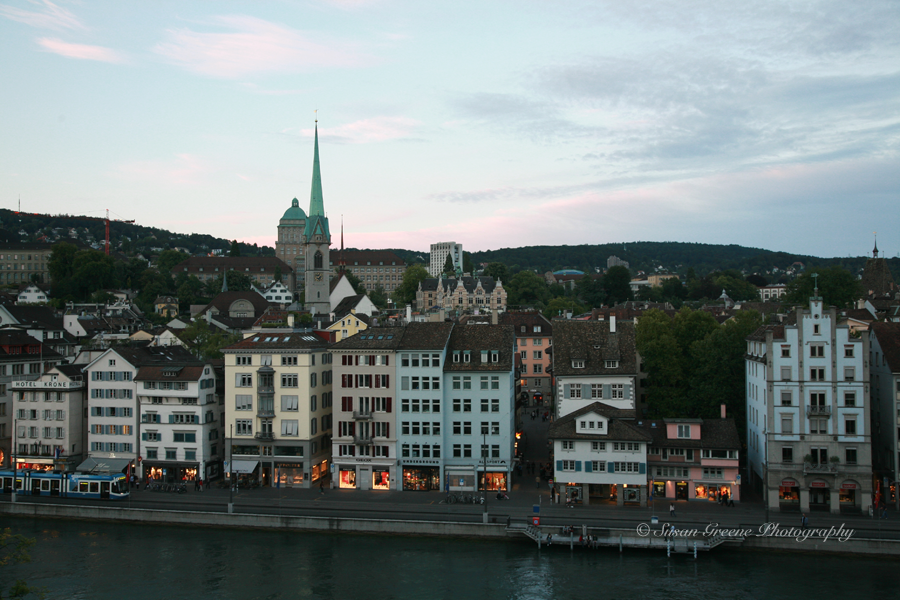
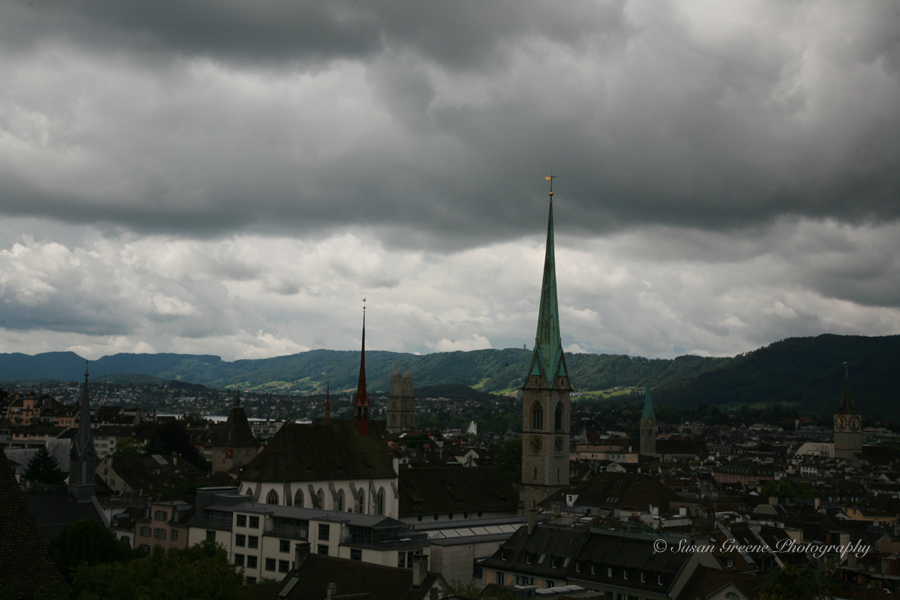
I am exploring ISO today and these shots taken at dusk in Zurich illustrate the effect simply changing the ISO can have on your result. These photos are shown how they appeared straight out of the camera. The aperture, f/7.1, and shutter, 1/50, settings are the same on all the photos. The first is with an ISO of 1000:

skies 0330
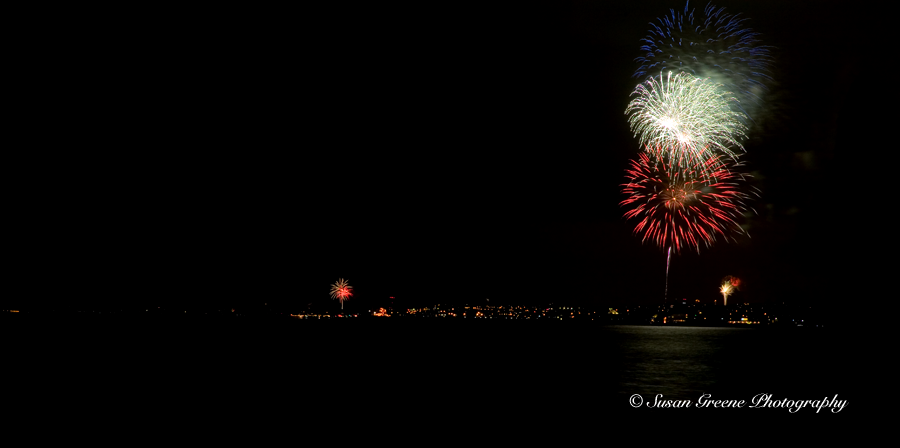
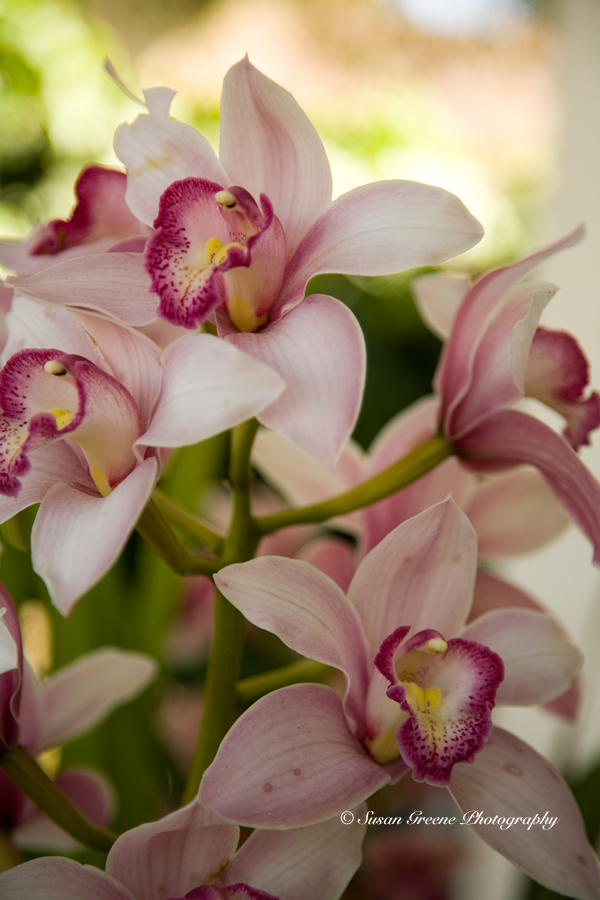
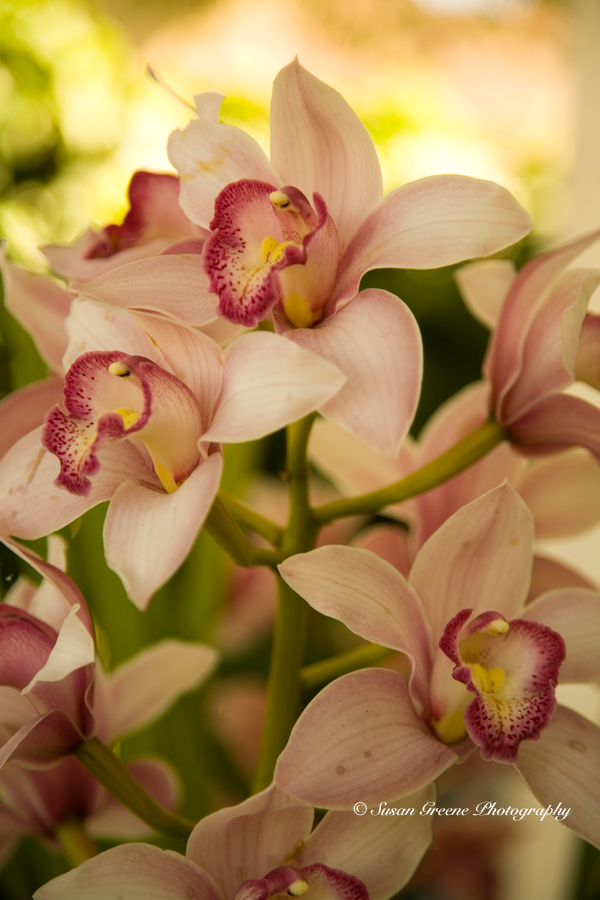
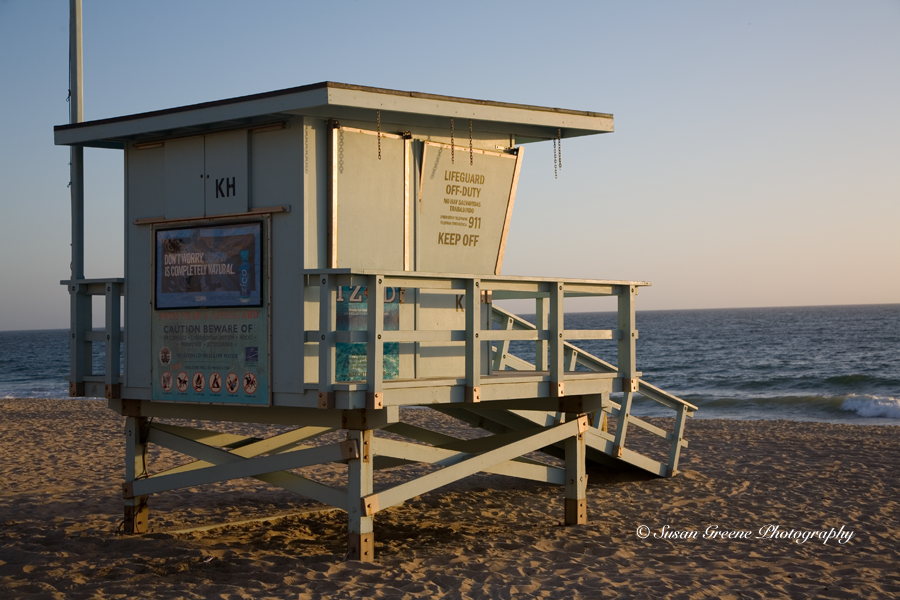
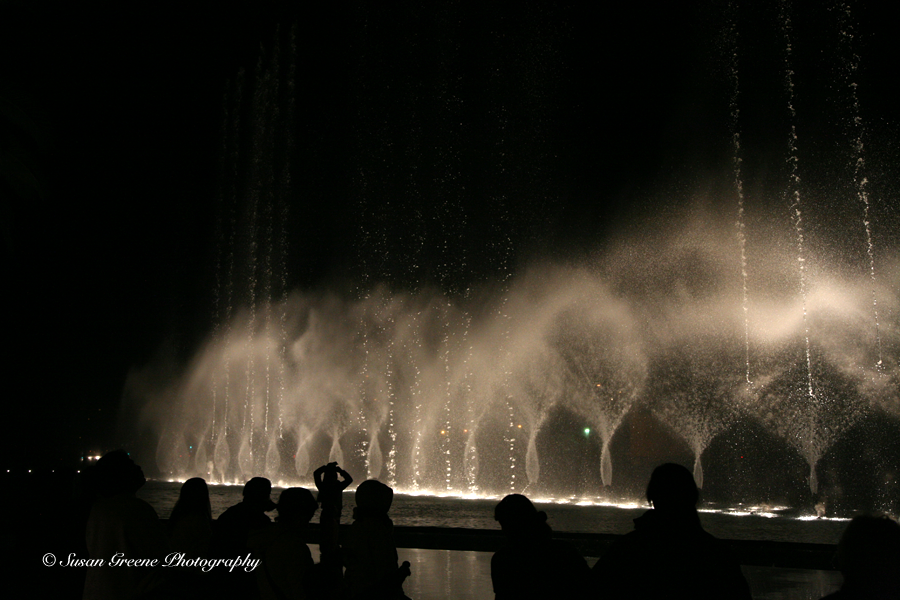
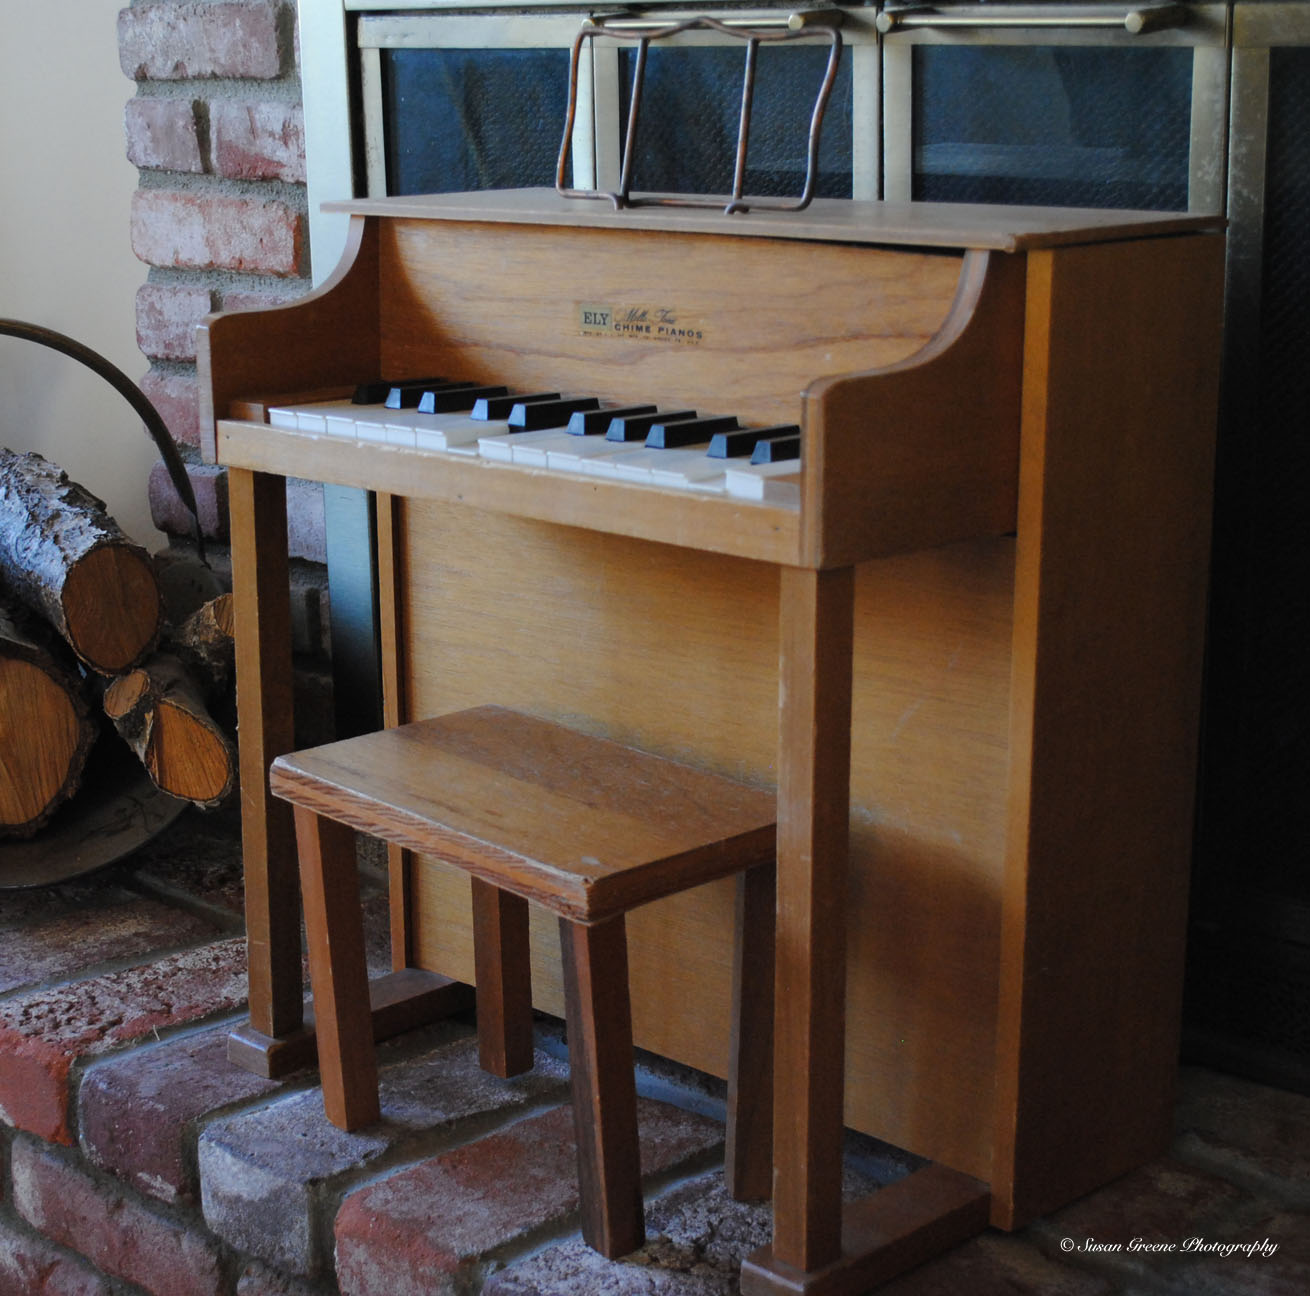
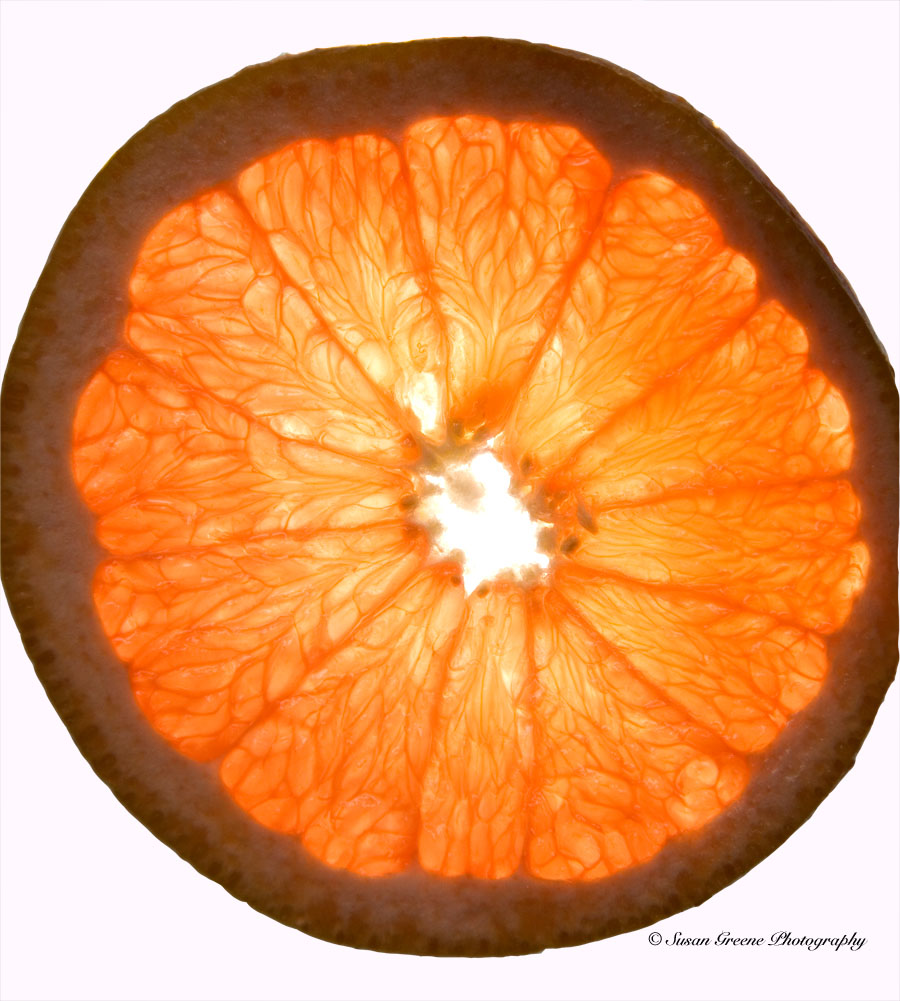
Noticing that the pinks, which were appearing in the sky, weren’t coming out in the photo I lowered the ISO to 640:

skies 0331
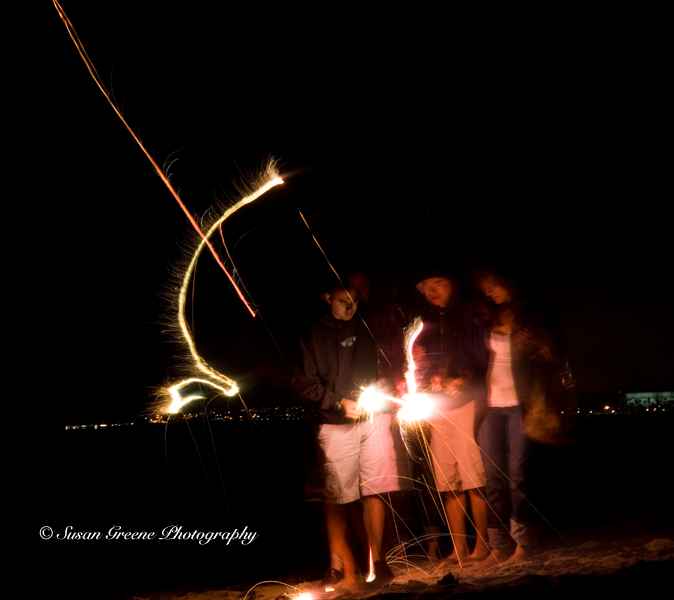
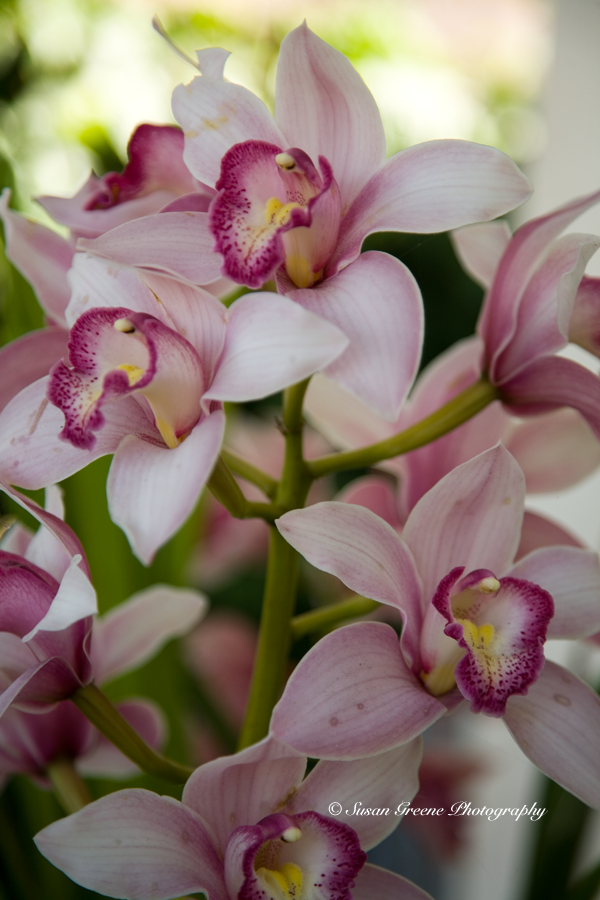
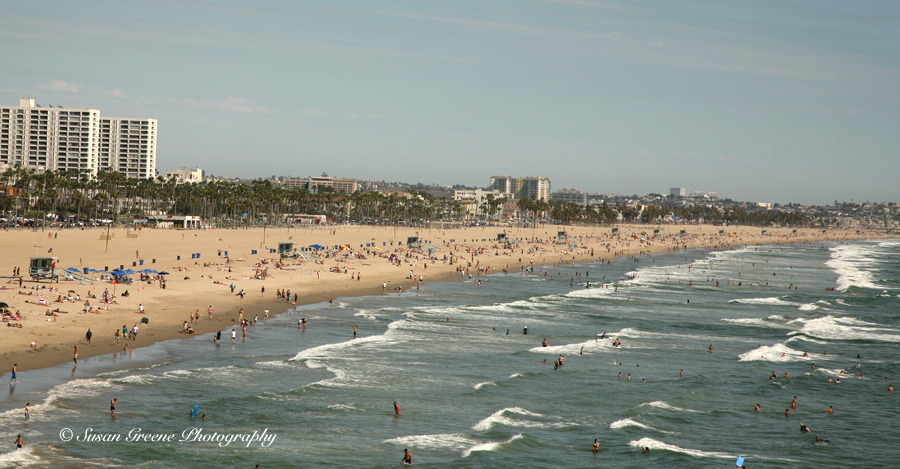
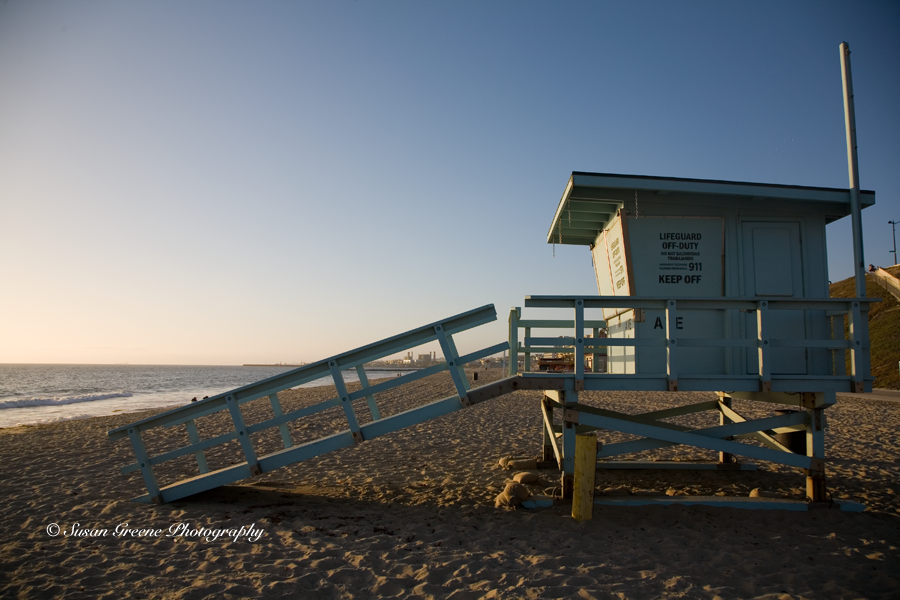
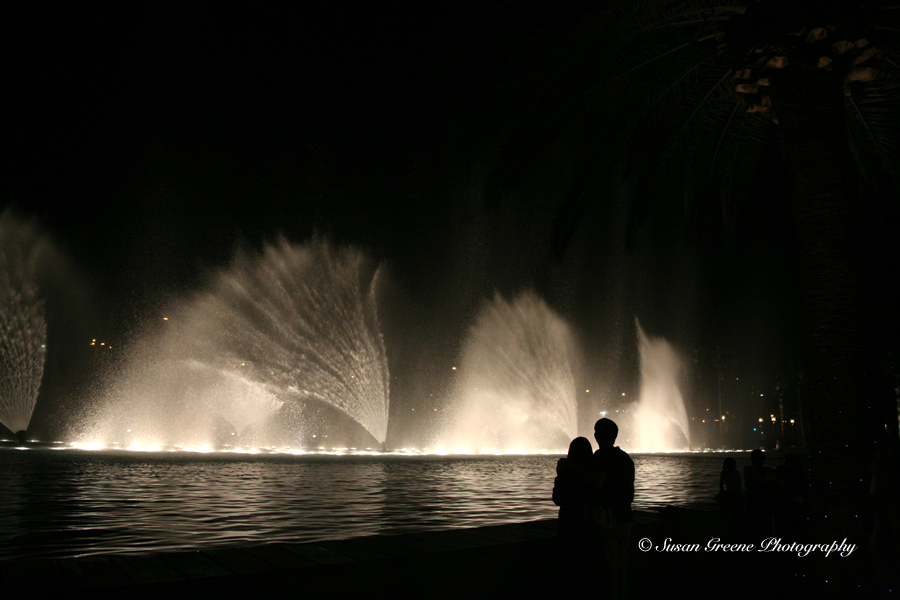
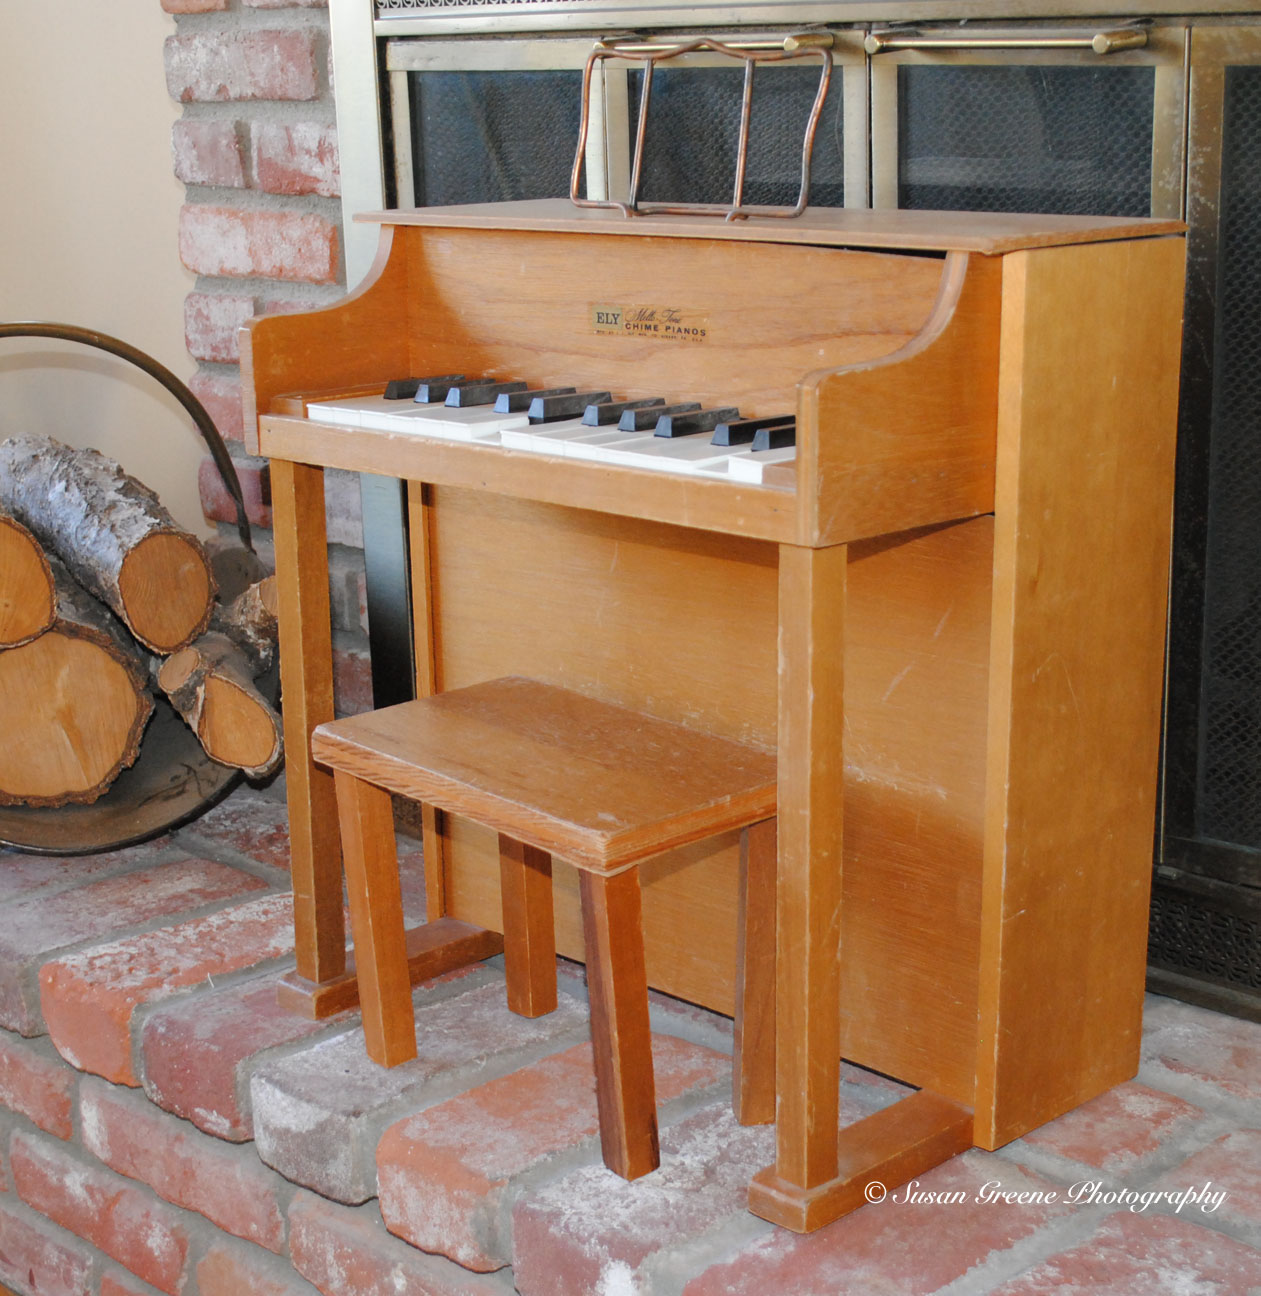
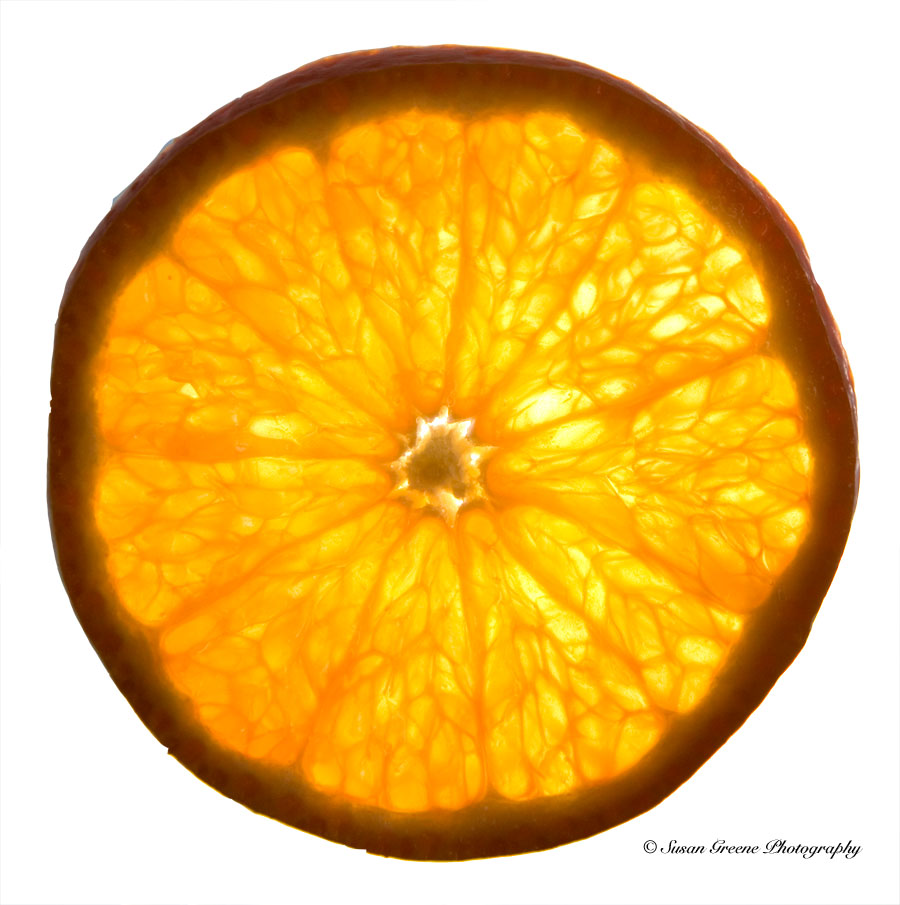
This was better but I still wanted more so I lowered it even farther to ISO 400

skies 0332
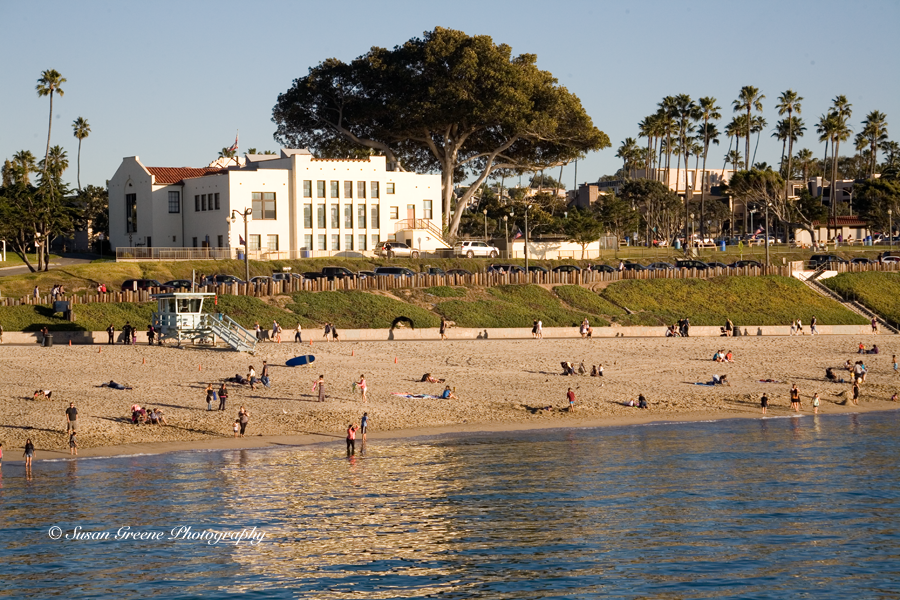
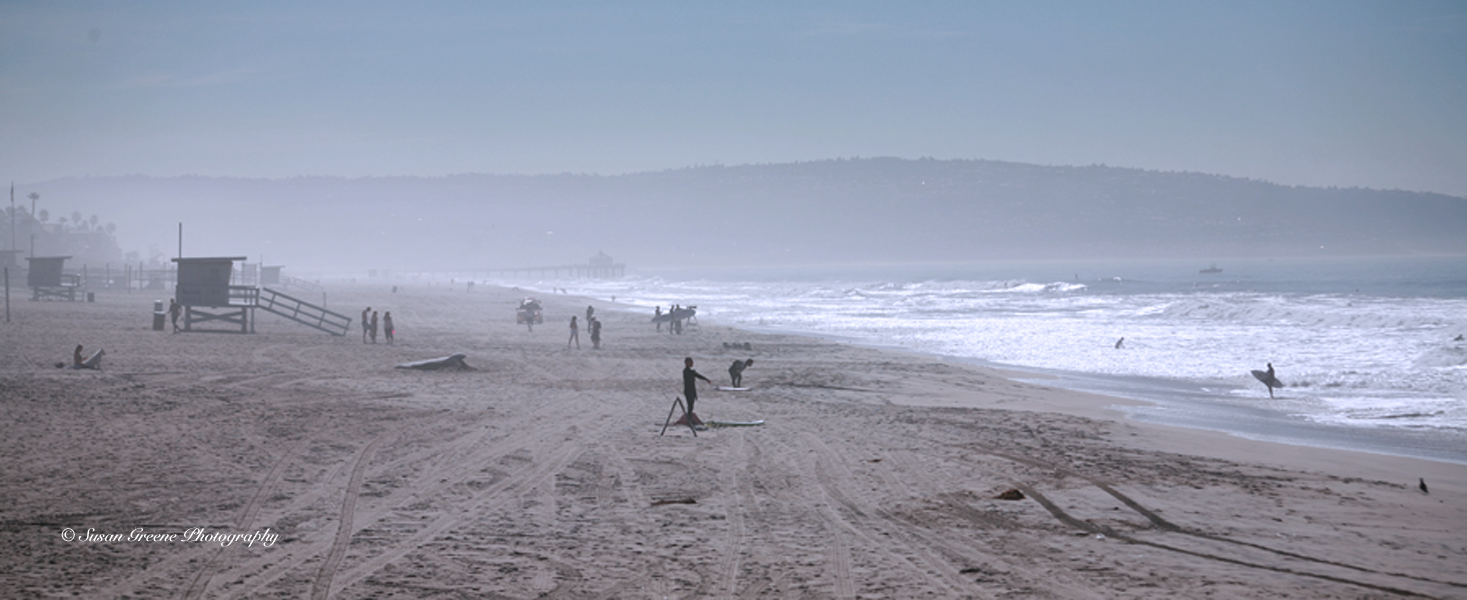
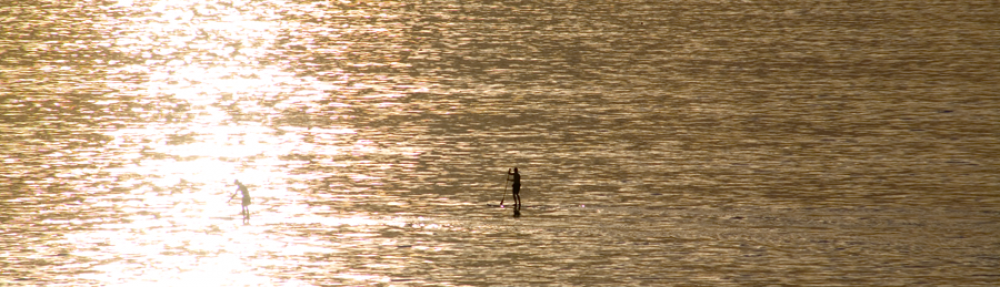
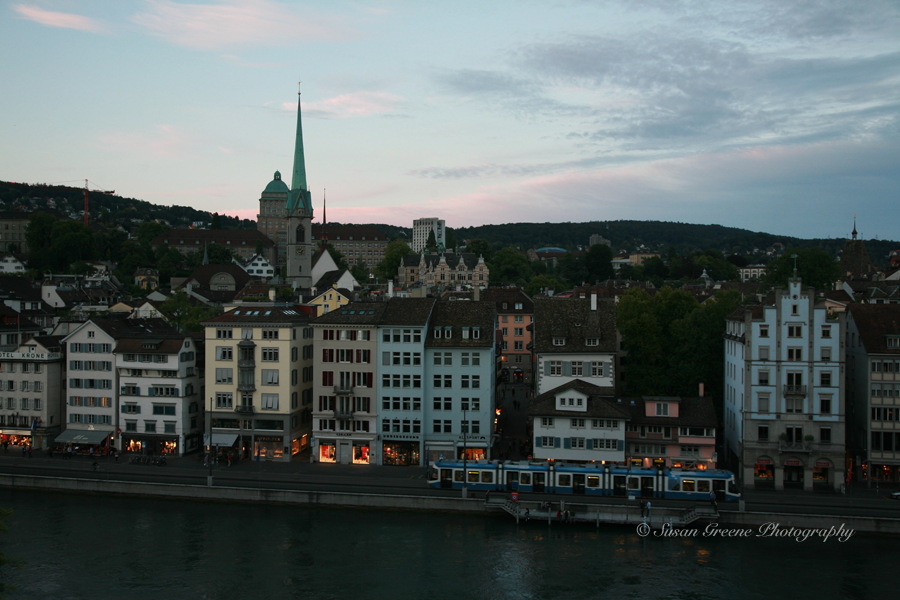
The lower the ISO setting the less grain will be introduced in to your photo. In the middle of the day, when there is plenty of light, using an ISO setting of 100-200 will give clear, colorful photos.

skies 9850skies 9231
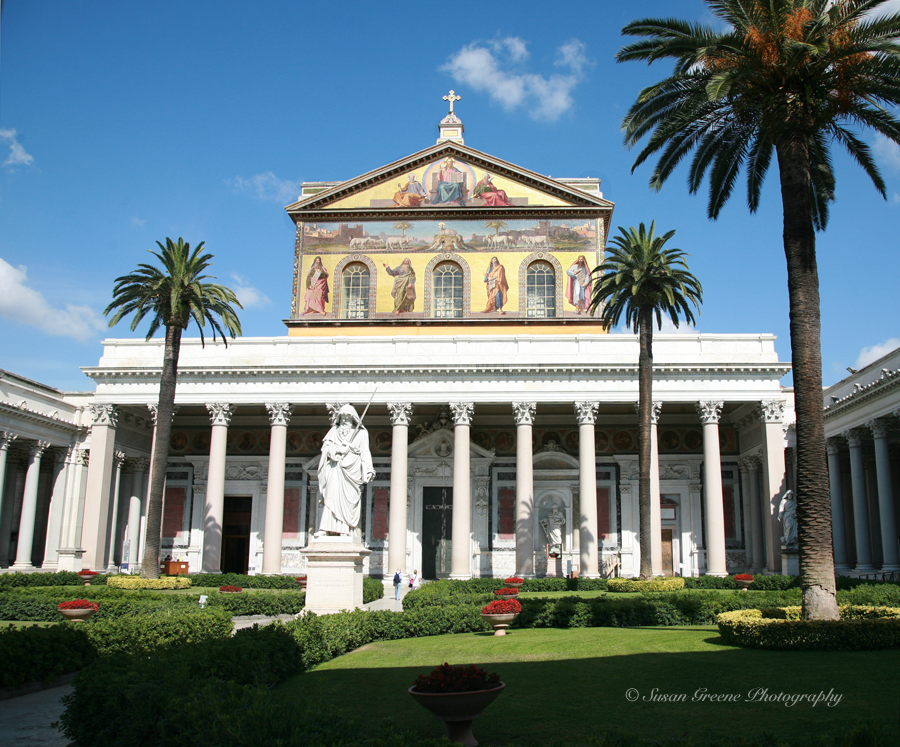
The ISO can be low and the f stop high and there is no problem capturing enough light to obtain a good exposure. When looking to the sky, I like to use lower ISO numbers to obtain true colors with low grain, or noise.

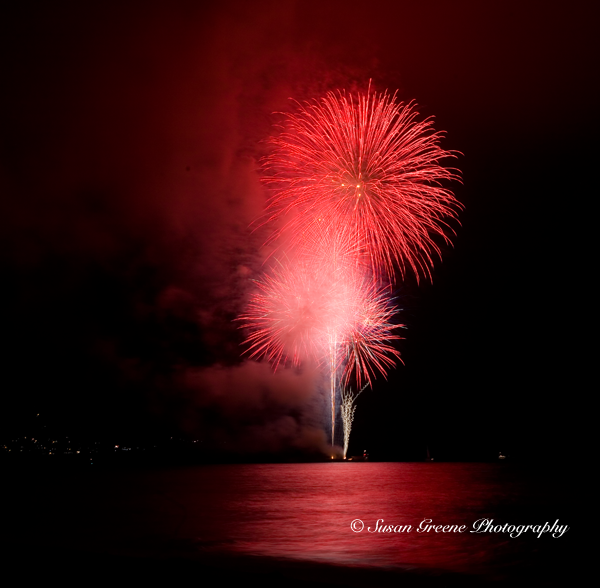
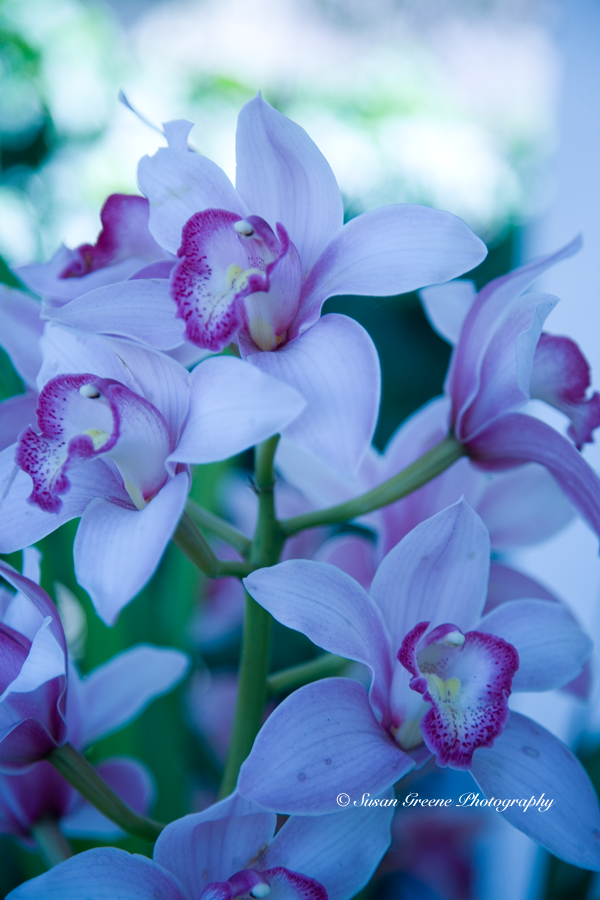
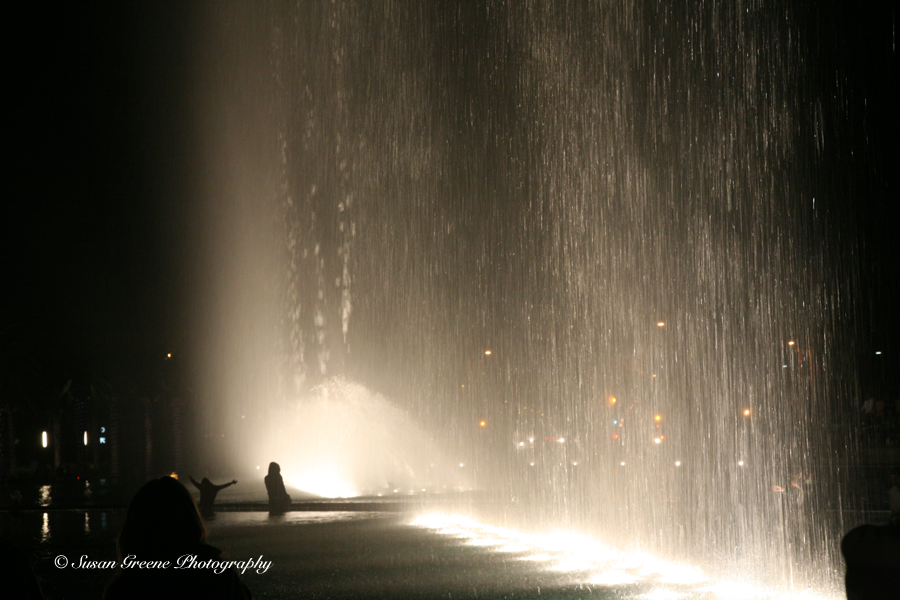
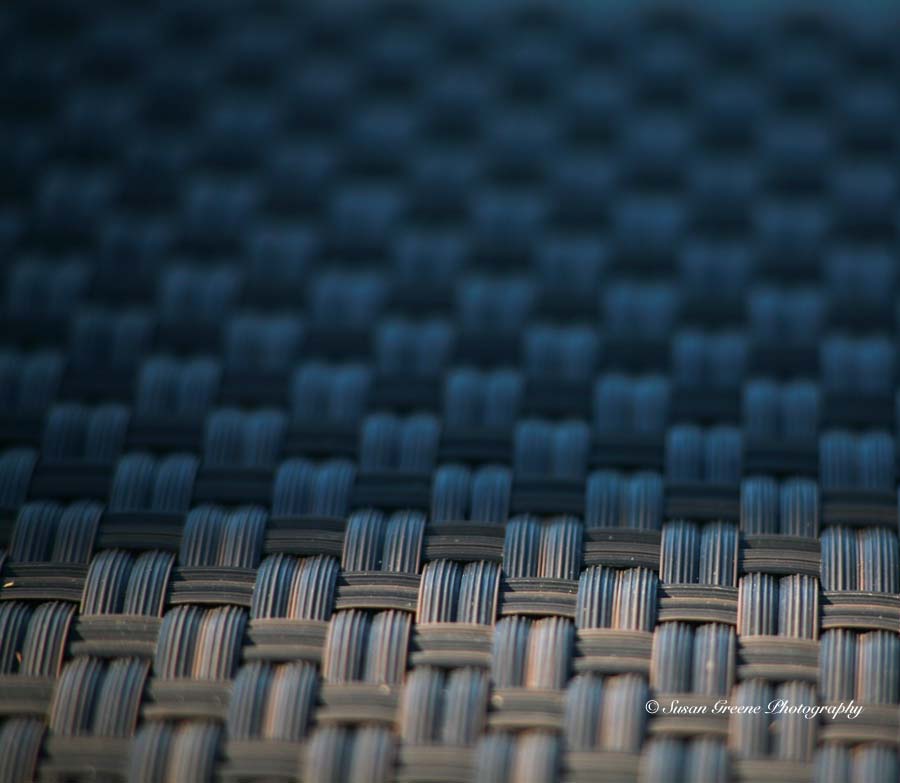
Sometimes, a darker mood is the goal.

skies 0357Let your artistic eye be your guide.

Next week, I will consider the effects of a higher ISO and how it can be utilized in low light situations.

Until then,

~Susan

Fireworks!

fireworks 2There is nothing for making a celebration grander than fireworks! Watching the flare ascending and then bursting with colors filling the sky with light gets my spirits soaring as high as those fireworks.

fireworks 4July 4th marks our country’s 237th birthday and it’s the perfect occasion to take in a fireworks show. I have the opportunity to be on the edge of the continent, in a bay and when the weather is nice, I can see many displays from a seat at the local beach.

fireworksWhen one show ends you simply sit back and wait for the next one to begin.

fireworks 5Sometimes the down time is filled with people’s own shows.

fireworks 1With so much going on, it’s the perfect opportunity to capture the revelry.

Here are some tips for you to capture your experience:

First you need a camera with manual mode. To minimize camera shake, a tripod and a remote release are recommended. Set your camera to a low ISO setting of 100-200. Fireworks are bright and an f-stop in the mid range of f/9-f/16 lets enough light in to allow the colors to stay true and not get washed out. Set your shutter to bulb (B on Canon), this setting will keep the shutter open as long as you hold down the shutter button.  Make sure your lens is on manual focus, and focus to infinity or wait until the fireworks begin and focus on them. A medium  telephoto zoom lens works well, I use 24-105mm. Now position yourself so you will have an unobstructed view and you are ready to shoot. Listen for the launch and release the shutter and hold open for anywhere from 2-30 seconds. The longer you hold it open the more bursts you will capture.

fireworks 3Some locations add music and the fireworks exploding to beats in the songs makes for an especially thrilling experience.

fireworks 6Happy Independence Day and hope you can get to a fireworks show to celebrate, and stay until the grand finale!

~ Susan

The color of light and balancing the white

A light is a light is a light, right? Nope. Light sources can be warmer (with more reddish tones) such as a candle or an incandescent light, or they can also be cooler (with more blueish tones) such as in the shade or a cloudy day. You may have noticed that some times your pictures have certain tints to them and the color doesn’t look natural. This is where white balance comes to the rescue. The camera will add more of the missing hue in an effort to balance out the tint created by a light source and achieve more natural looking colors. I used the last blooms of the orchid on my patio as a subject. The plant is in open shade. Auto white balance will often produce a fine result but sometimes some tweaking is necessary or just fun to try.

This is the auto white balance shot:

auto WBIn this case, it is a fairly accurate color depiction but I will carry on. Different cameras have different white balance settings so you will have to get out your manual for your particular camera’s settings.

Next I used the daylight setting:

daylight WBThis adds a slight warmth to the picture.

The shade setting, symbolized by a house with diagonal lines off one side, is next:

shade WB Shade is a cooler light and the camera adds warmer tones with this setting.

The cloudy setting:

cloudy WBOnce again warmer tones are added.

Next the tungsten setting:

tungsten WBThe blue tones are strong with this setting because pictures taken under tungsten lighting will have a strong orange hue to them and the blue will balance it out. Generally, this is used indoors.

Next, fluorescent setting:

fluorescent WBThis is a cooler hue also.

Another method of white balancing is using the Kelvin scale of color temperature. The lower numbers are the warmer hues so the camera will add cooler colors. When I set my temperature at 2800K this is the result:

2800K WBInversely, the higher numbers are cooler temperature colors so the camera adds warmer tones, this is set to 10,000K:

10000K WBThen, there is a range in between these. You can also set a custom white balance by taking a picture of a white or neutral gray sheet and thus telling your camera what white is and it will adjust accordingly.

There is no rule that you must use a certain setting in a certain condition. You can decide what you prefer as the photographer. Maybe you like warmer tones in your photos or cooler. It is fun to play around with them and see what you like; just one more creativity tool!

Performing a balancing act,

~ Susan

under a watchful eye

towers6Any sunny summer day at the beach, you will find them; working the shore with red bathing suits, and hanging red canisters at the ready, eyes fixed on the water. They are lifeguards and their “office” – the lifeguard tower. The towers dot the sand up and down the beach.

towers7Summer time is the busy season but they are at their posts year round.

towers11The water is too enticing, most days, for all sorts of water activity enthusiasts to be left unattended.

towers10Or, some days there are more birds than people but there is still a lifeguard somewhere on the beach keeping watch. The lifeguard tower itself is a simple structure, architecturally speaking, constructed of wood with a ramp leading up to the door and shelter. It is elevated about three feet off the ground, just enough to give the guard an unobstructed view of the beach and water. These towers remind me of many a day spent at the shore and feeling sentimental, I chose the lifeguard towers as a subject of an evening photo shoot. The sun, low in the sky, on its way to setting, giving a golden hue to the light. I decided to walk around the tower and play with different lighting situations. First, I placed the sun behind the tower thus back-lighting it.

tower1As you can see the tower is more in silhouette but the background is the ocean, which I like. Next, I walked to the side and gave it a side light.

towers5First one side, then the other. . .

towers4This creates different effects and backgrounds so keep this in mind when choosing what to photograph. Turning and facing the tower and using front lighting was next.

tower2This gives the front of the tower full exposure and allows the ramp to be visible. Another angle using front lighting is explored.

towers12

The towers are a constant at the beach. They get moved back away from the water in the winter and brought closer to the shoreline in the spring but are ever present on the sand standing tall. Sometimes, they are used in perhaps unexpected ways.

towers8The blue towers are iconic representations of the beach to me and I appreciate the role they play in the dance of the shore. If you have an interest in lifeguard towers check out the fun colors and patterns they were decorated with a few years back in an earlier post: “Flashback Summer of Colors“.

Hearing the crashing surf,

~ Susan

night lights

June has arrived and with it comes warmer weather, longer days and temperate nights. One of the many bonuses of longer days is more time for outside photography. We are exploring light this month. Light is the most important element in photography. Without it all photos would be pure black. I am beginning with an exploration of the lights at night.

night lights3

Anticipation growing during the quiet before the show got started at the Fanfare fountain at the Gateway in San Pedro, CA.

night light5The fountains are choreographed to songs as if the water is dancing.

night lights

night light8When photographing lights, I like to expose for the light and create a silhouette of foreground subjects.

night light7

Seeing the water moving in time to the music is magical. To capture it, I chose 1600 ISO,   set the f-stop at 4 and varied the shutter speed depending on whether I was going to freeze the water,

night light2or let it blur. Getting swept up in the music and water motion and breaking into your own dance is not uncommon.

night light6

Sometimes, it can be hard to resist touching the water.

night light4A tripod is a good idea when photographing in low light situations to avoid blur from camera movement. If you don’t have one with you, placing your camera on a solid surface is an alternative (keeping your camera away from the water, of course!)

Cheers.

~ Susan


Light Writing

light write

Discovering something new is exhilarating, even if it is only new to you. It was my experimentation with the slow sync flash mode that led to a recent exhilaration. The slow sync flash mode allows a longer shutter speed to be used with flash. This creates the opportunity to gather more ambient light and also have the subject be in focus. This also makes it possible to see light trails.  I grabbed my most willing subject, a couple of flashlights, my camera and a tripod, and headed to the backyard one recent night. I envisioned the backyard daughter with some lines created next to her by her moving the lights around. We did that and realized there was enough time to try to write a word.

light write3The first attempt time ran out and the shutter closed before she was able to complete the word. But after readjusting the settings – making the aperture smaller therefore creating the need for a longer shutter speed, there was plenty of time.

light write2The first few times she wrote the word so that she would be able to read it (from her left to right or backwards for me) and I flipped the photo in Photoshop in order to be able to read it correctly. Then, she wrote backwards when we realized there was an abundance of time for writing. This very same daughter used to write messages in the steam on the shower door, backwards! We had such fun playing around with the lights and were delighted by how well it came out. Most cameras have a slow sync setting for the flash. I highly recommend checking your camera for it and getting shooting, signing off with a flourish. . .

light write1

~ Susan

The Two Generation Piano in a Flash

A consequence of living in the same house for many years is that some things become fixtures without you noticing it. Until one day, for an unknown reason, you look around, really look around, and realize there are some remnants of childhoods long gone sitting abandoned in a long forgotten corner of a room. Then comes the tough decision of whether to save, donate or sell. A recently implemented policy of mine to donate or sell items not being used has prompted another recently implemented policy of photographing the items before giving them away – for memory’s sake. The toy piano which has provided countless hours of musical enjoyment and delight to me and my sisters and then our children is the subject of this realization. It made the first cut because it’s just so “cute” but there is that new policy I must adhere to if I am going to keep “stuff” to a minimum.  As I begin photographing, I decide to experiment with diffusing the on-camera flash (since flash is our theme this month). My intention is to add light to capture details without obtaining the harsh look and glare which often accompanies this type of flash. First, I took one photo without any flash, simply using the available window light.

kid piano no flash1 Next, I turned on the flash using the same settings,

kid piano w- flashthere is quite a difference. The details are now visible maybe a little too visible. Lastly, I put a piece of white paper in front of the flash to spread out the light (the same principle behind umbrellas and soft boxes in studios). A small diffuser which will affix to your camera can be purchased for this purpose but I chose to go the homemade route, which requires a tripod for freeing a hand to press the shutter.

kid piano diffused flashI like it and think it is a happy medium between the two previous pictures. I tried the sequence once more with a close up.

No flash,

no flash kid piano 1flash,

flash kid pianoand diffused flash.

diffused flash kid pianoI like the softer look of the diffused flash and think it can be especially beneficial when shooting portraits. Sometimes, the direct on-camera flash gives a harsh and not terribly flattering look to people. When indoors, it is often necessary to find ways to increase the light for proper exposure  of a subject and diffusing the on-camera flash is a pleasing method of accomplishing this.

As for the little toy piano, it will hopefully find a new home where it will provide more hours of delight, fascination and enjoyment to yet another generation.

Play on,

~ Susan

News “Flash”

Here we are in May all ready, a new month, and therefore a new photographic term to explore here at backyard sisters. This month we will be investigating flash. It may seem like an odd choice for me since I don’t have flash capability with my current camera set-up. However, I have in the past and am going to examine some of the the benefits and drawbacks of the use of flash. At this point, in my photography, I prefer to use the available light but, especially in the house at night, I find limitations to my ability to capture what I want. For the photos this month, I am borrowing my daughter’s Nikon D3000 which has a built-in flash.

The first scenario I want to consider is when your subject is in a darker area in front of a brightly lit area, such as a person in the shade of a tree with a sunny area behind them or inside the house in front of a window. In these cases, if you would like to have your subject and background in focus and visible it is necessary to use a flash.

monkey in windowLet me introduce today’s subjects – they are two well-loved monkeys which have been members of our family for twenty plus years. Chester and Sam, as we call them, were a gift to our sons from their great-grandparents. Through the years, they have turned up in various locations and poses throughout the house. Just recently, I found Sam resting in the window. In this first photo, I didn’t use a flash and in order to achieve the correct exposure of Sam, the background is blown out and unrecognizable.

monkey in window2You can have your subject slightly under-exposed and the background will come into focus a bit more but some times that is not the look one wants. So, the solution is to turn on your cameras flash.

monkey in window3This allows the subject to be well lit. A word of warning here though, when using a flash in front of a window you need to be careful to avoid the flash reflection from the window in your photo. The way to do this is to stand to the side of your subject or take the picture from a lower angle.

Not wanting to be left out, Chester joined the photo shoot.

2monkeys no flashThe first one without flash and then with.

2 monkeys in windowAs you can see, the yard is much more visible in the second.  Perhaps, they are taking a break after mowing the lawn with that mower out there. . .

Cheers,

~ Susan


Play With Your Food, I Say!

I am wrapping up this month’s exploration of patterns with a play session. When young, we are admonished to not play with our food. Aside from the occasional volcano of mashed potatoes and gravy lava I mostly adhered to this rule. But now that I am grown, I have thrown that reprimand out and taken to playing with my food. My idea of “playing with food” these days is styling and taking pictures. My latest subject – citrus, was chosen for the patterns created when cut in a cross-section.

three citrus cutA grapefruit,

grapefruit cut

a mineola tangelo,

mineola cutand a mandarin tangerine

mandarin cutare my citrus of choice.

I gathered leaves and cilantro from the yard and had a great time cutting and arranging. The smell – refreshing, and a fun way to kick-off a Saturday for this backyard sister. Citrus still on my mind I had a vision of delving deeper into the pattern created in the segments. So, I rigged up a photo box using an opaque plastic storage bin turned on its side and a clip-on desk light allowing me to place the light facing up inside the box. After slicing the citrus thinner I set them on the box over the light.

tangerine sliceThe back light allows the segments making up the segments to be visible. What joy! I was made even happier by the adjustment in Photoshop of filling the background with white thus removing any distractions and allowing the fruit slice to stand alone.

grapefruit sliceThese patterns are intriguing to me as well as inspirational. I may create a backdrop based on them.

orange sliceIt reminds me of a stained glass window.

These subjects make a great snack too!

Enjoy!

~ Susan

Go Ahead and Break It

Patterns denote a certain regularity – repeating designs or behaviors.

photo credit: @1ofmykind

photo credit: @1ofmykind

I have noticed l have a tendency to fall into a photographic pattern. It hit me while going through my photos one day. Whether shooting portraits, landscapes or even editorial I become comfortable with what has worked in the past and tend to repeat it- same poses, settings, subjects.

grass pattern

It can be difficult but fun to try and break out of patterns, try a different angle, a new lens, different settings, new pose, etc.

IMG_1376I am naturally drawn to certain subjects, and I find making a conscious effort to look at them from a different angle or focusing on a smaller part of the whole, keeps me from falling into a familiar pattern.

IMG_9737Not that we have to do something different every time, simply making an effort to create new takes on old scenes can spark a freshness in our perspective and get the “creative juices” flowing.

IMG_4608Also, choosing subjects that you may not usually photograph will have the same result and often this is right in front of our eyes! We just have to remember to raise the camera, focus and click.

To a week of breaking patterns.

~ Susan