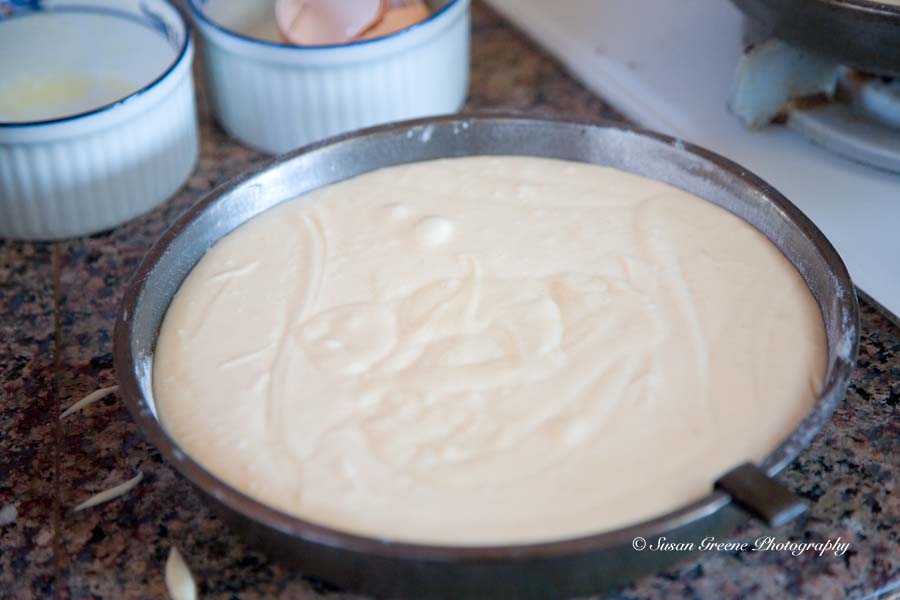
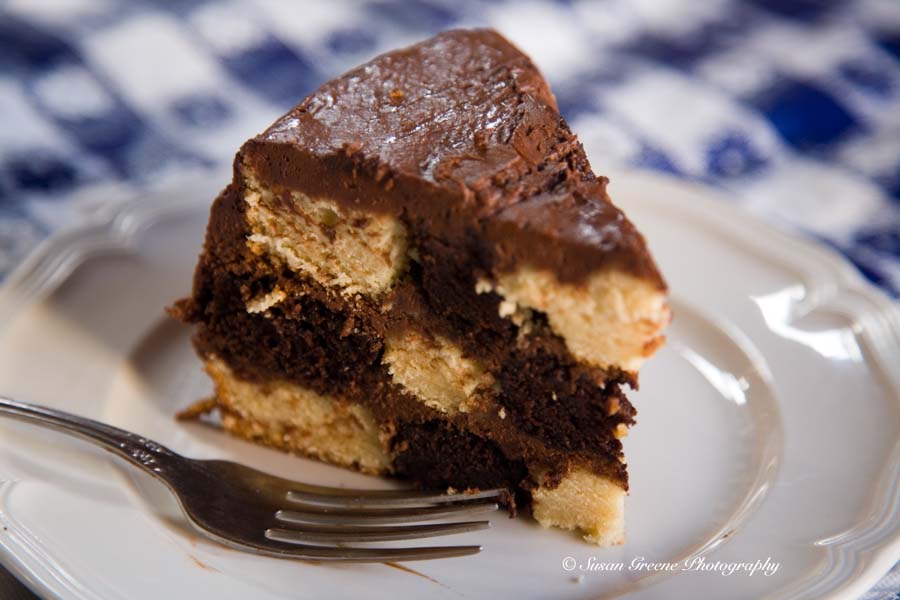
Adventures and experiments in the kitchen can be challenging and fun. Trying to come up with a dish to go with this month’s theme of patterns, a checkerboard cake immediately came to mind. Never having made one and a bit uncertain about what seemed like a daunting task, I suppressed the idea for a day or two exploring other possibilities but I kept coming back to the cake and readied myself for a challenge. First, I learned there is a special pan one can buy for creating this effect, but not wanting to invest in one and, with further research, I found a video online of Buddy, the cake boss, teaching Rachael Ray how to make a checkerboard cake using cookie cutters. Well, without circle cookie cutters, I improvised using a glass and a glass vase ( thoroughly cleaned of course ). Checkerboard cake here we come. First task is making chocolate and vanilla cakes.
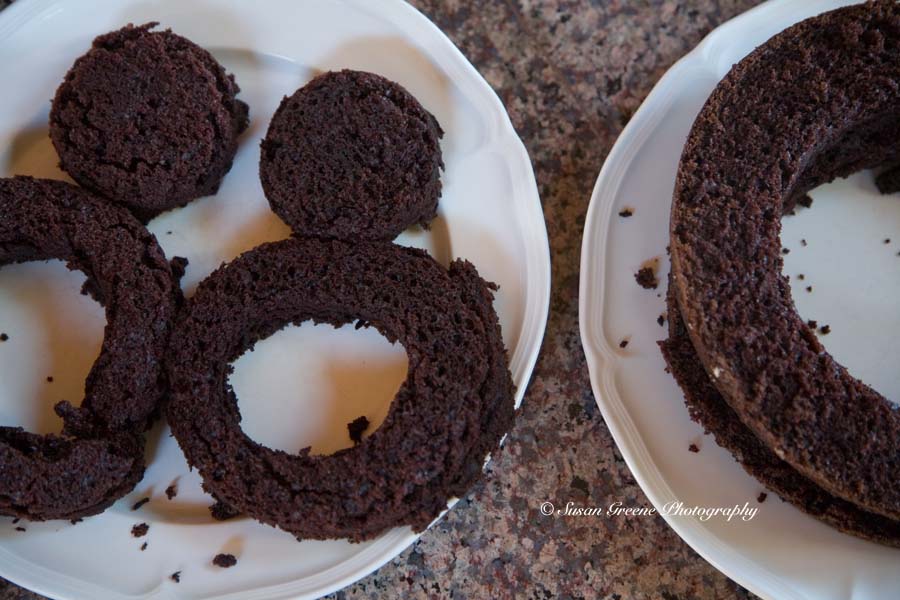
 Most cakes after cooking have a slightly rounded top, at least mine do, so to get even layers that will sit flatly on top of each other; after the cake has cooled, trim about one quarter of an inch off the top. Then cut concentric circles from the center out and you will have three circles of cake.
 Next step is to alternate the chocolate and vanilla rings. If you have a vanilla ring on the outside insert a chocolate ring next and finish with a vanilla ring in the middle. After assembling your first layer, apply frosting. I learned a trick from the cake boss – use a bag to apply the frosting. I used a ziploc bag and cut a hole in one of the bottom corners. By applying the frosting this way, all you have to do is gently spread it around to smooth it out and it keeps it from getting full of crumbs. For the next layer, start with chocolate on the outside then vanilla and finish with chocolate in the center then add frosting again. I made a three layer cake so for the last layer I repeated the pattern of the first layer. Then apply frosting to entire cake. I could have made another layer but ran out of frosting. . . and time.
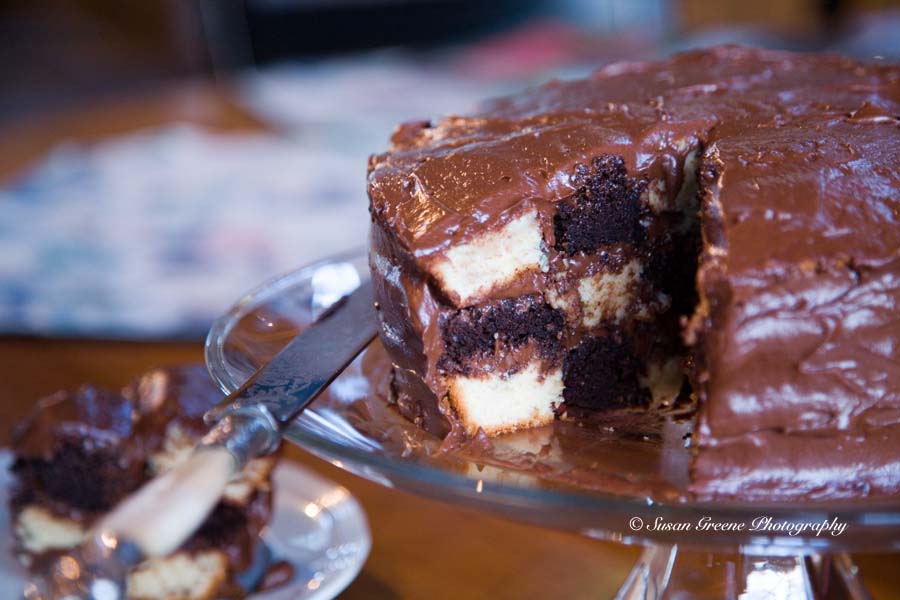
 It’s fun cutting into the cake and revealing the impressive checkerboard pattern!
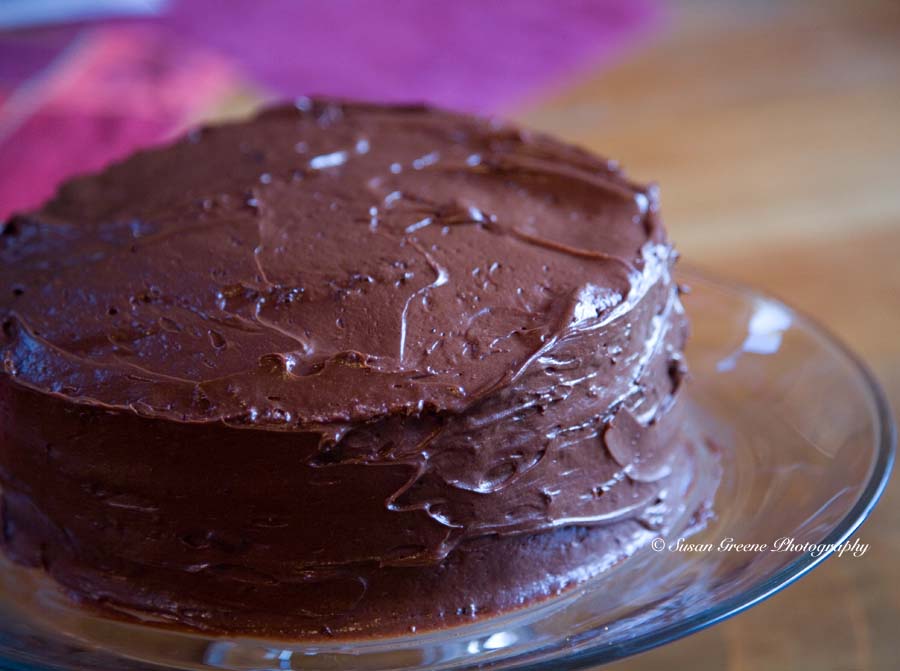
 I made the cakes from scratch because I prefer that to mixes, but if you want you can use cake mix. I put my foot down at the frosting from the grocery store though; it’s just not as good as homemade!
Hershey’s “Perfectly Chocolate” Chocolate Cake (from the Hershey’s Cocoa box)
- 2 cup sugar
- 1-3/4 cup all-purpose flour
- 3/4 cup Hershey’s Cocoa
- 1-1/2 tsp baking powder
- 1-1/2 tsp baking soda
- 1 tsp salt
- 2 eggs
- 1 cup milk
- 1/2 cup vegetable oil
- 2 tsp vanilla extract
- 1 cup boiling water
Heat oven to 350° F. Grease and flour two 9-in. round cake pans. Combine dry ingredients in a large bowl. Add eggs, milk, oil and vanilla; beat on medium speed 2 minutes. Stir in boiling water (batter will be thin). Pour into pans. Bake 30-35 minutes or until a wooden pick inserted into center comes out clean. Cool 10 minutes, remove from pans to wire racks and cool completely.
Yellow Cake (from Better Homes and Gardens New Cookbook)
- 3 cups all-purpose flour
- 2 cups sugar
- 1 Tbsp baking powder
- 1-1/2 cups milk
- 1/2 cup butter,softened
- 1-1/2 tsp vanilla (I doubled this, I like vanilla a lot)
- 2 eggs
Preheat oven to 375° F. In a large bowl combine dry ingredients. Add milk, butter, and vanilla. Beat with electric mixer on low speed until combined. Beat on high speed for 2 minutes. Add eggs and beat 2 minutes more. Pour into 2 greased and floured 9 in. round cake pans. Bake for 25-30 minutes or until wooden pick inserted in center comes out clean. Cool on wire racks for 10 minutes. Remove from pans until cooled completely.
“Perfectly Chocolate” Chocolate Frosting (also from Hershey’s Cocoa box)
- 1/2 cup (1 stick) butter
- 2/3 cup Hershey’s cocoa
- 3 cups powdered sugar
- 1/3 cup milk
- 1 tsp. vanilla
Melt butter. Stir in cocoa. Alternately add powdered sugar and milk, beating on medium speed to spreading consistency. Add more milk, if needed. Stir in vanilla. Makes about 2 cups frosting.
I once and a halved the frosting recipe but I didn’t have enough to make a fourth layer so I would double it next time.
If you would like to watch the Rachael Ray video click here.
This can be made with different colored and flavored cakes also.
It makes me want to go play a game of checkers. While eating cake of course!
~ Susan
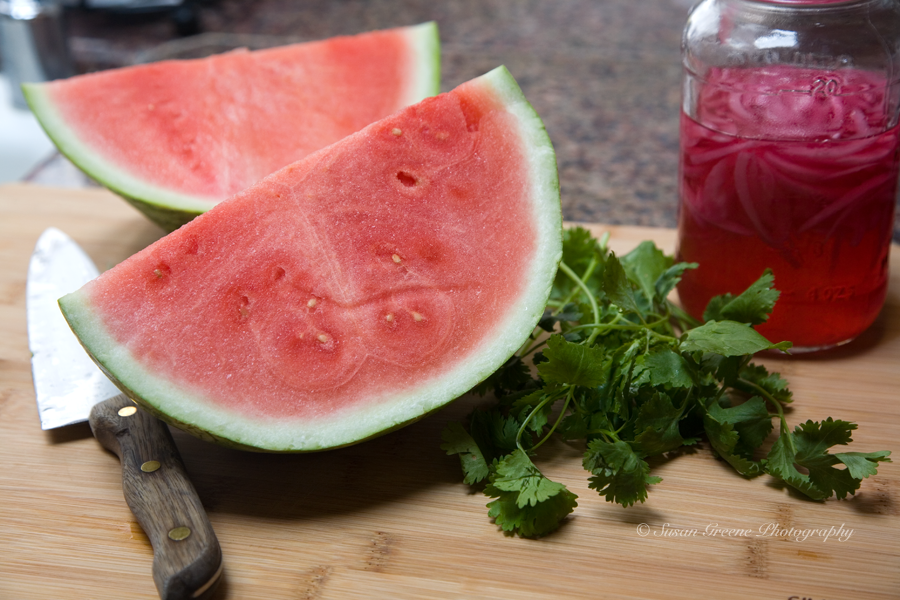
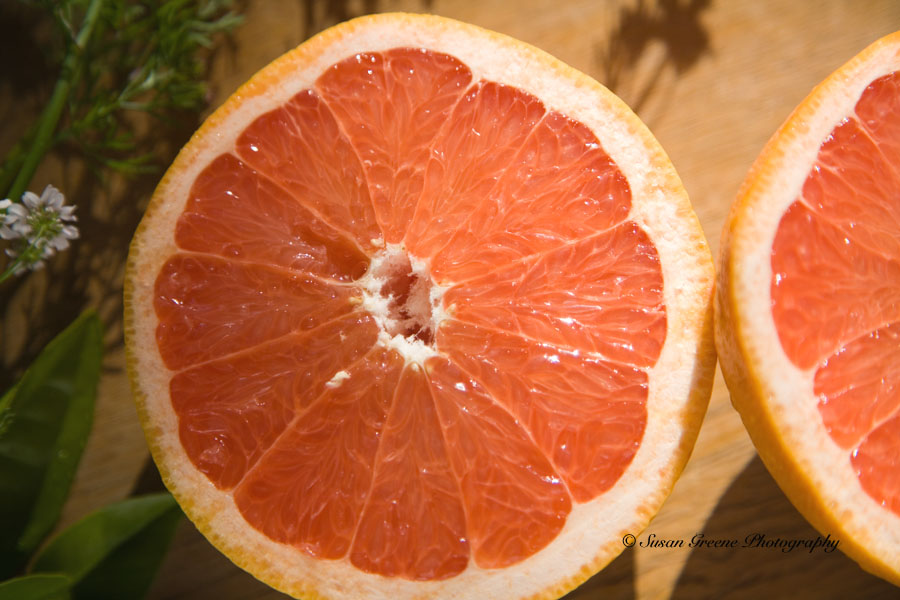
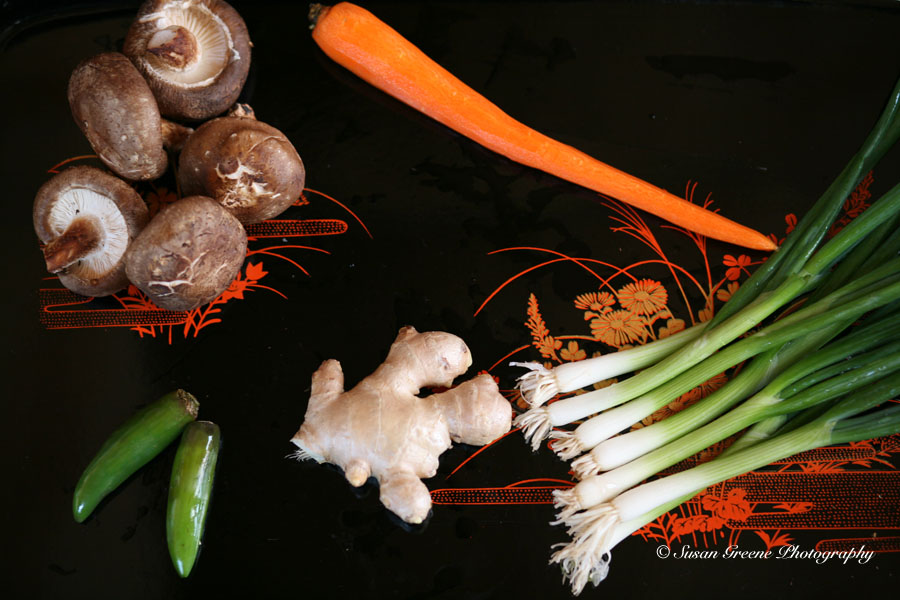
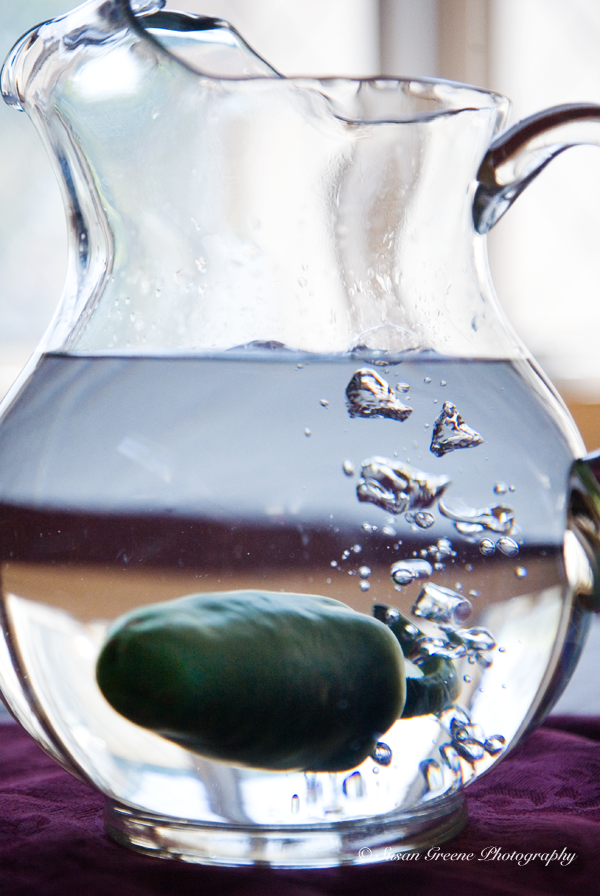 Want to add a little spice to your life this weekend? It’s quite simple really. By adding a sliced jalapeño pepper to lemonade, you will end up with a refreshing and slightly spicy, hot, yet cold, beverage. It’s an anomaly.
 A backyard daughter had the idea and I am so glad she did.
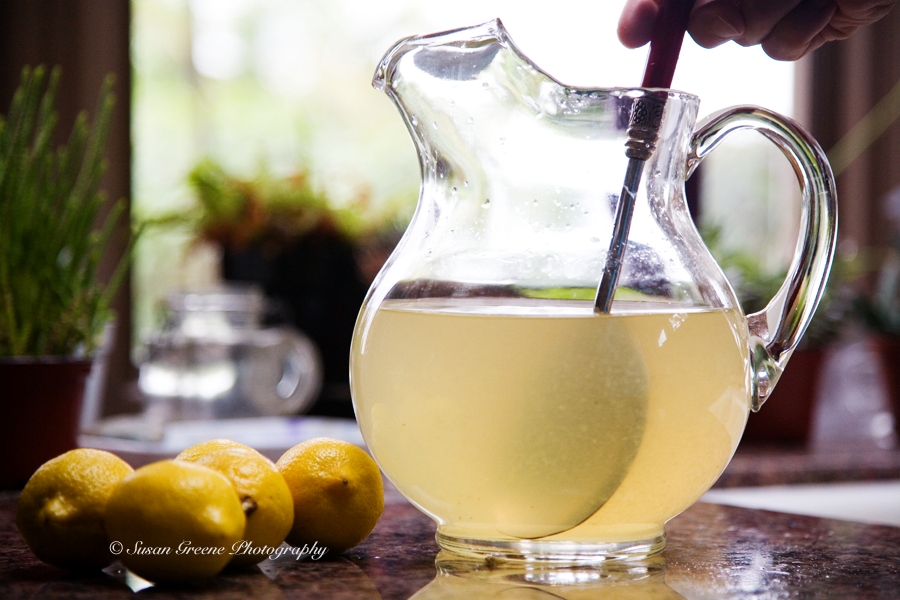 The amounts of the different ingredients can be adjusted to suit your tastes, so think of this recipe as a suggestion more than a rule.
 In southern California the fall can turn hot and this is just the drink for such an occasion, or any time you feel like spicing things up a bit!